Saving a Sending Configuration Template
It is possible to store the definition of one of e-mail campaigns in order to use it as a template and to easily send a campaign based on a similar saved configuration.
Saving the configuration
Saving a sending configuration must be done during the creation of your campaign.
It is necessary to go to the fifth and penultimate stage of the creation of your e-mail, namely 'Check & Test'.
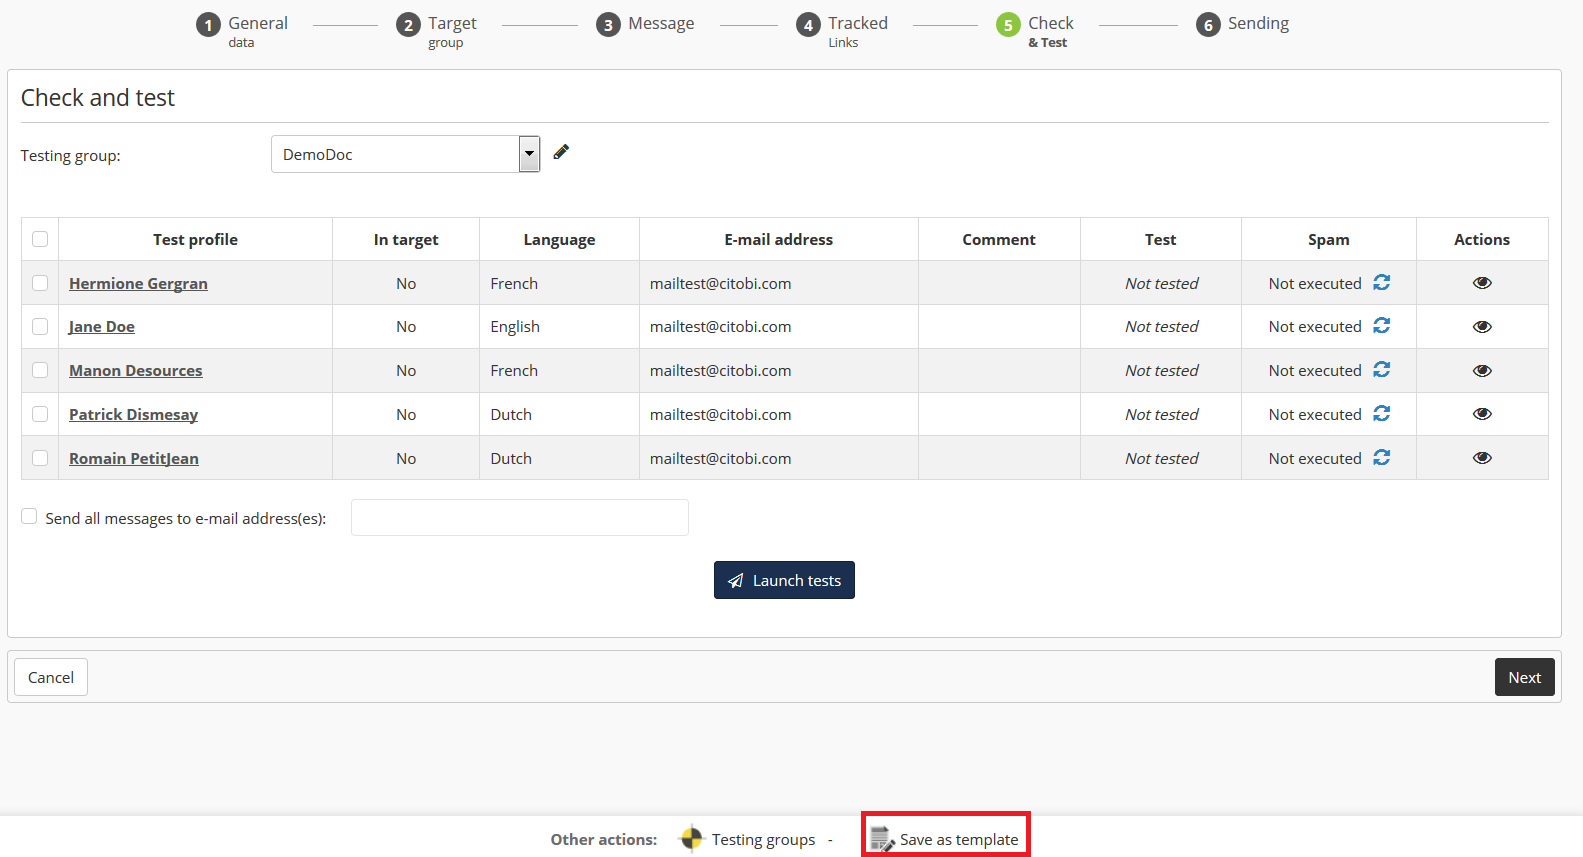
At the bottom of the page, among the 'Other actions', you have the possibility to 'Save as template' by clicking on this button.
Saving a configuration based on an already sent campaign
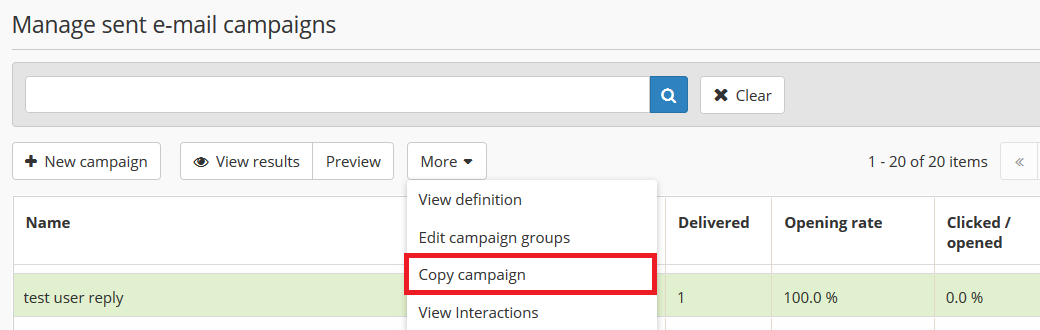
Saving a sending configuration must be done during the creation of your campaign. If you want to create a template based on an already sent campaign, you retain the possibility of doing so by finding the campaign in question in the "Sent" tab of your campaigns (via the 'Manage e-mail campaigns application').
Next, click on the 'More' button, then on 'Copy campaign'.
You can subsequently go to the fifth step and save the campaign as a template, exactly as explained above. The copy created in this way can be left as a draft or deleted.
Defining the sending configuration
Template data
First of hand, you will be invited to name your configuration, then to choose on which entity it will be available.
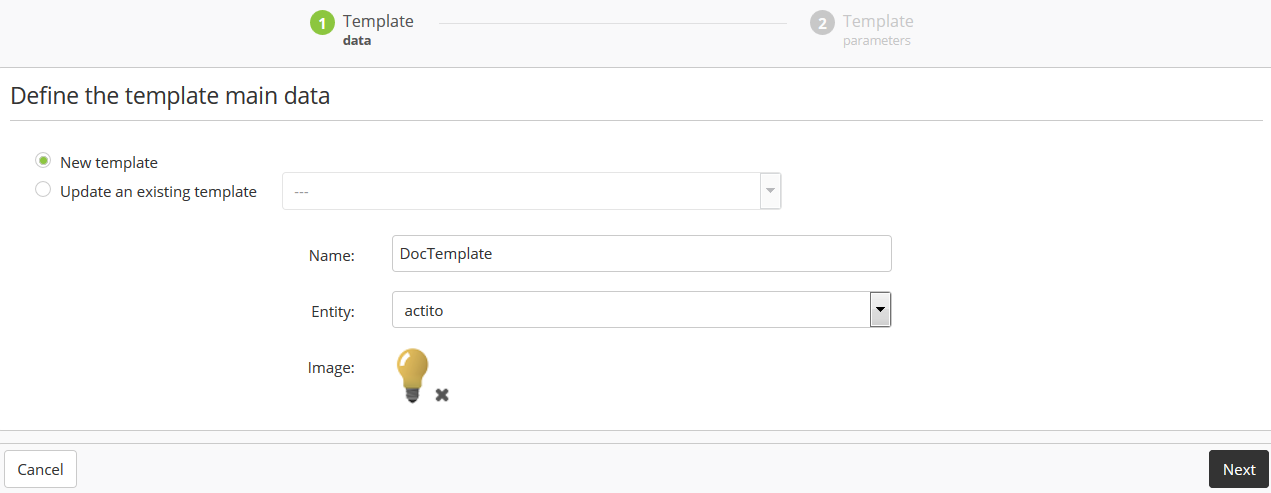
You also have the possibility to choose an image which will be used as the logo of your template during the preliminary step of the creation of your campaign.
This image must have a maximum width of 100 pixels and a maximum height of 46 pixels. It must obligatorily meet this criteria, as there is no automatic resizing.
Template parameters
Next, you will be able to define which parameters of your campaign will be saved in your sending configuration.
A sending configuration is indeed not a simple content template such as those available in the ACTITO templates library and the custom templates library. A configuration also allows you to save every other parameters of your campaign, according to your selection.
A range of parameters will be selected by default, but you are free to choose which to save and which to discard, therefore allowing you to completely customize your configuration.
Nevertheless, every parameter of a saved configuration can still be modified during the definition of any new campaign based on a sending template.
-
General data
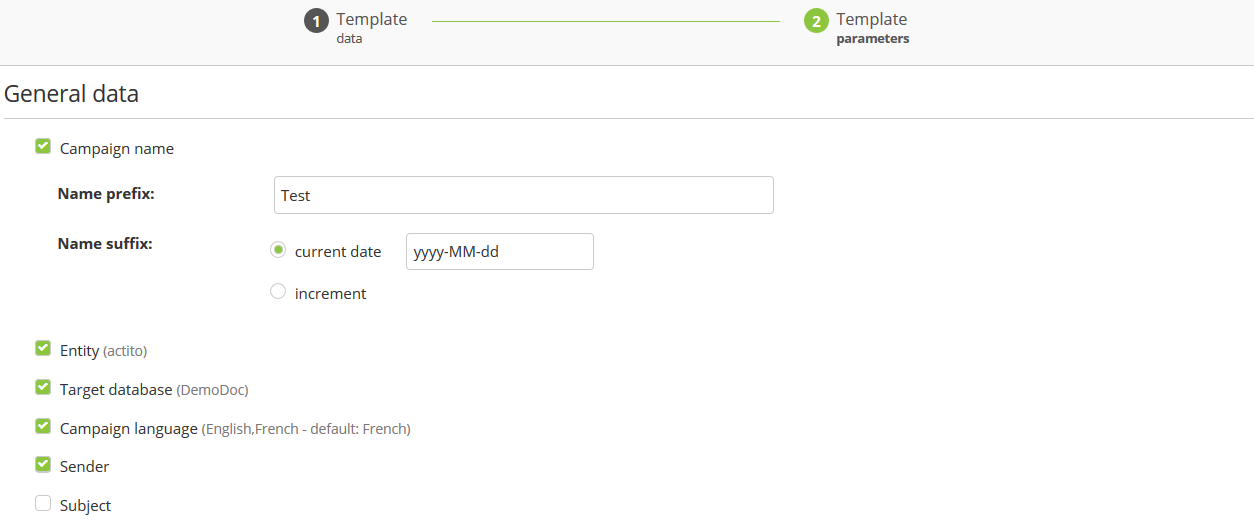
If you choose to save the name of the campaign, you will need to set up a rule to add a prefix and a suffix to the name upon each use of the template, as two campaigns cannot bear the same name.
-
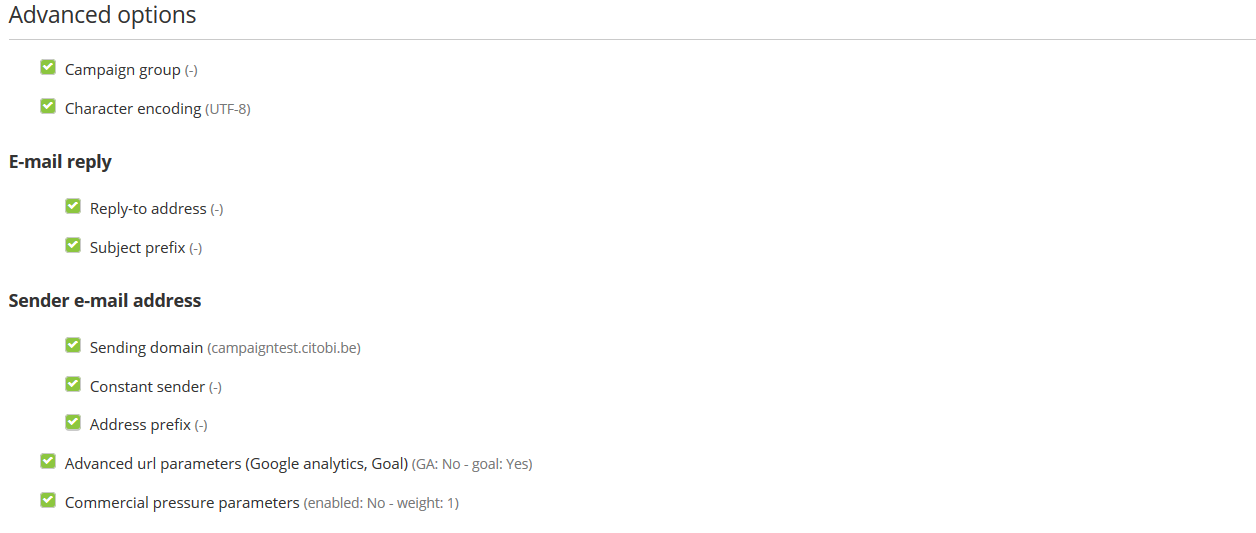
Advanced options
-
Target group

It is possible to store the targeting defined for the original campaign.
-
Content
The content of the e-mail will be saved automatically, exactly as for a normal template.
-
Variables

This allows you to save all the customizations and conditions defined originally. Checking off this box implies saving every variable, as it is not possible to choose only some of them.
Of course, every parameter of a saved configuration can still be modified during the definition of any new campaign based on a sending template.
Modifying a saved configuration
It is possible to modify a saved configuration.
To do so, you need to start as explained above, namely to select the 'Save as template' option during the fifth step of the creation of an e-mail campaign.
Next, choose the 'Update an existing template' box during the 'Template data' step of saving the template. You will be able to choose the name of the sending configuration that you want to modify.
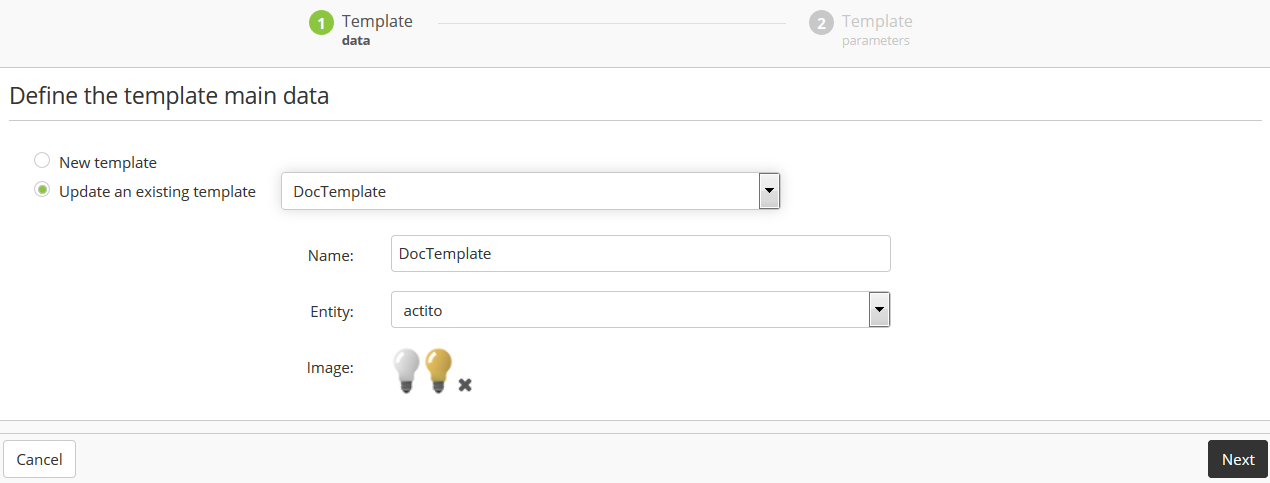
Next, you will be able de redefine the parameters of this sending configuration.
Please note that this modification will overwrite the previously saved configuration. Any user who has access to the entity on which the configuration was saved will now only be able to use the new version of the template.
Modifying a saved configuration after the update of a custom template
Saved configurations do not only record the content of the e-mail, but also all additional parameters, even those that you cannot modify. This behavior can lead to additional difficulties while modifying these configurations.
For example, let's imagine that you made a request to the ACTITO team for the creation a new custom block matching the colors and the specificities of your company. You really want to update your saved configurations in order to include this brand new block. Unfortunately, if you create a campaign based on your sending configuration, you will not be able to use your new block. Indeed, the block library has also been saved as it used to be at the time of the creation of your configuration.
It is therefore necessary to proceed in another way.
Export the content
In the first place, create your new campaign as usual, based on the configuration that you want to update.
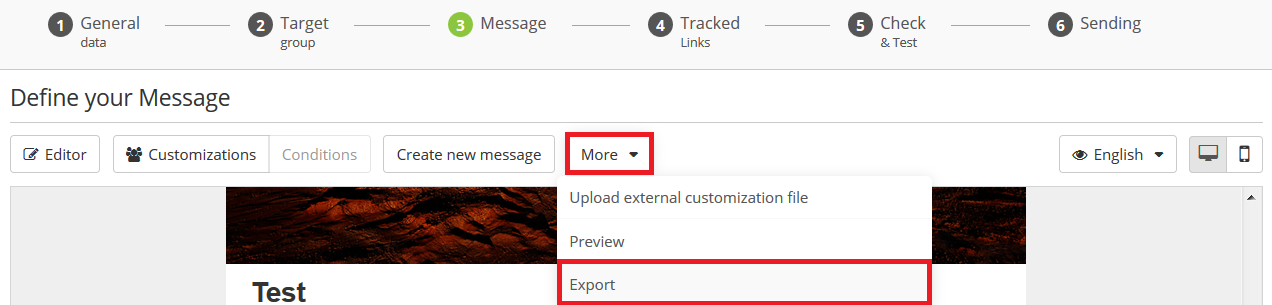
Go to the third step, namely the message definition. You will need to export the content of your e-mail, in order not to lose it.
To do so, click on the 'More' button, then on 'Export'.
You will obtain an HTML file compressed as a zip.
Insert the custom template
To be able to use your new block, you need to add the custom template to your sending configuration.
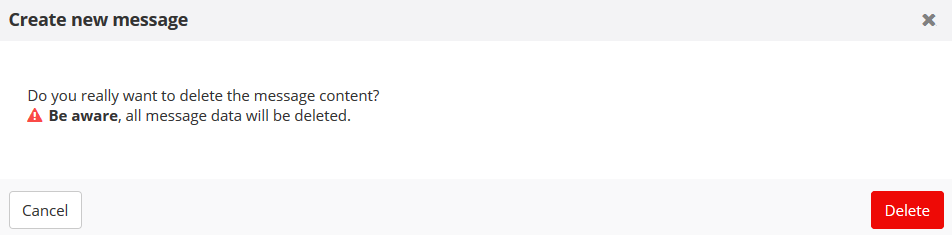
To do so, click on 'Create a new message'

You can delete the content of your message without worrying, as you exported it at the previous step.
Next, select 'Create From Template', then among the library, choose the custom template on which the new block was added (or which has been updated in any other way).
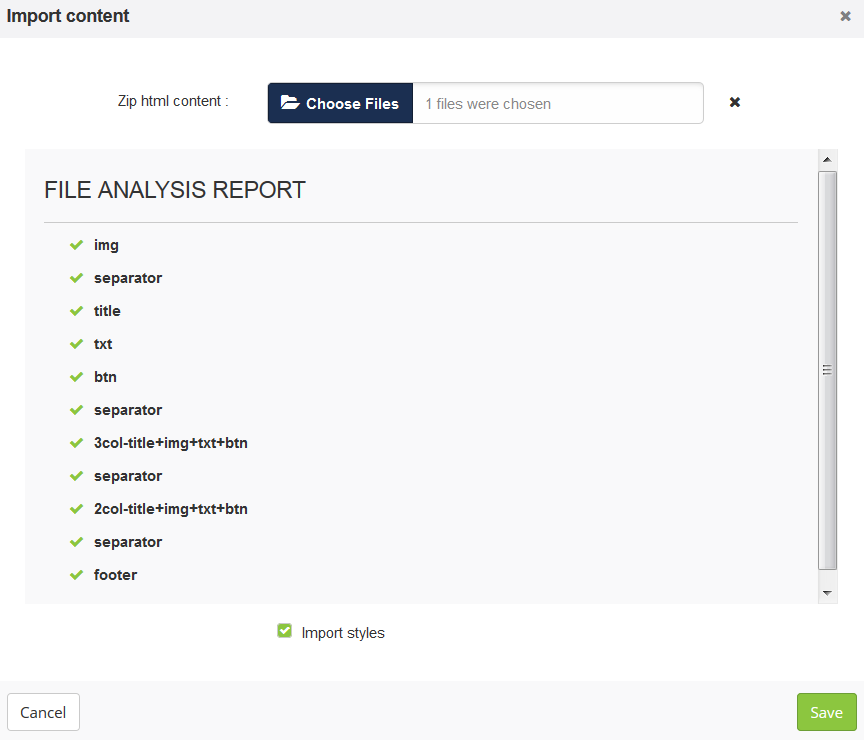
Import content
Click on the 'Options' button to the top left of the screen, then on 'Import content'

Import the zipped HTML file that you exported beforehand.
You now have retrieved all the original content of your saved configuration, all while accessing the new custom updates created for you by the ACTITO team.
All there is left to do is applying the modifications of your choice (such as using these updates).
Next, go to the fifth step of the campaign creation and save your configuration as explained above.