Creating an E-mail Campaign
To set up an e-mail campaign, go to the 'Manage e-mail campaigns' application. (Catalog > E-mail campaigns > Manage e-mail campaigns).
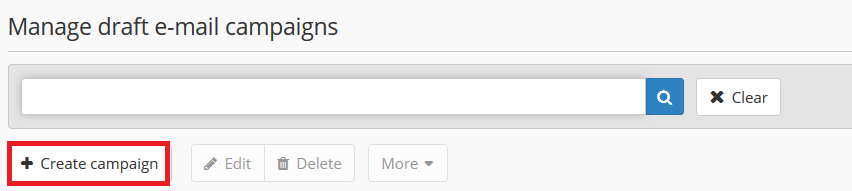
Click on the "+ Create campaign" button.
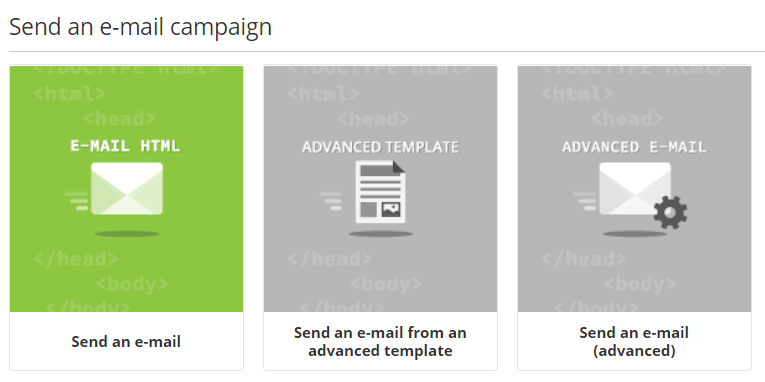
Next, you will have to choose the kind of e-mail that you want to send.
To create your campaign based on a HTML campaign template, choose "Send an e-mail"
Step 1: General data
This step will let you select the base data of your e-mail campaign.
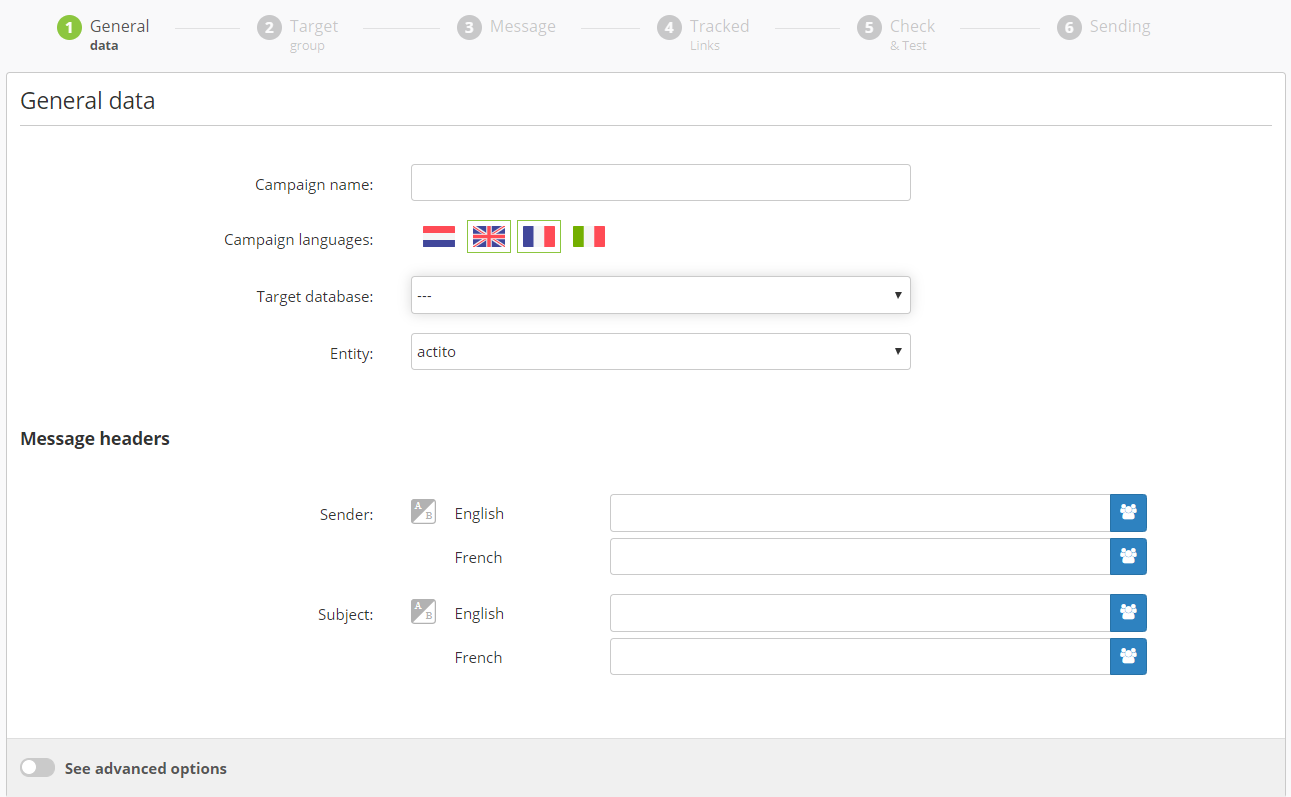
General data
Campaign data: Specify the technical name that you want to give to your sending in ACTITO. This name will not appear to the recipients of your e-mail.
Tip
Make sure that the name is clear to all your teams (for example: DateCampaignName)
Entity: Specify the entity on which the campaign will be stored.
An entity is a subdivision of your ACTITO licence which allows to differentiate users rights. There is only one by default.
Languages: Choose the language(s) of your campaign.
Tip
ACTITO lets you prepare a single campaign and break it down in several languages.
Target database: Select the profile database to which you want to send your e-mail campaign. If you have more than one database in your licence, you can choose the relevant one in the drop-down menu. Each campaign can only target one database.
Message headers
Sender: State the name that will be displayed in the mailbox of the e-mail recipient ('from').
Subject: State the purpose of your e-mail campaign.
ACTITO gives you the possibility to customize the subject and/or the sender. For additional information, we refer you to 'Customizing the subject or the sender of your campaign'.
Advanced options
If needed, it is possible to define additional general settings.
For this purpose, clicking on the small arrow at the bottom of your screen will display the advanced options.
The following options are available:
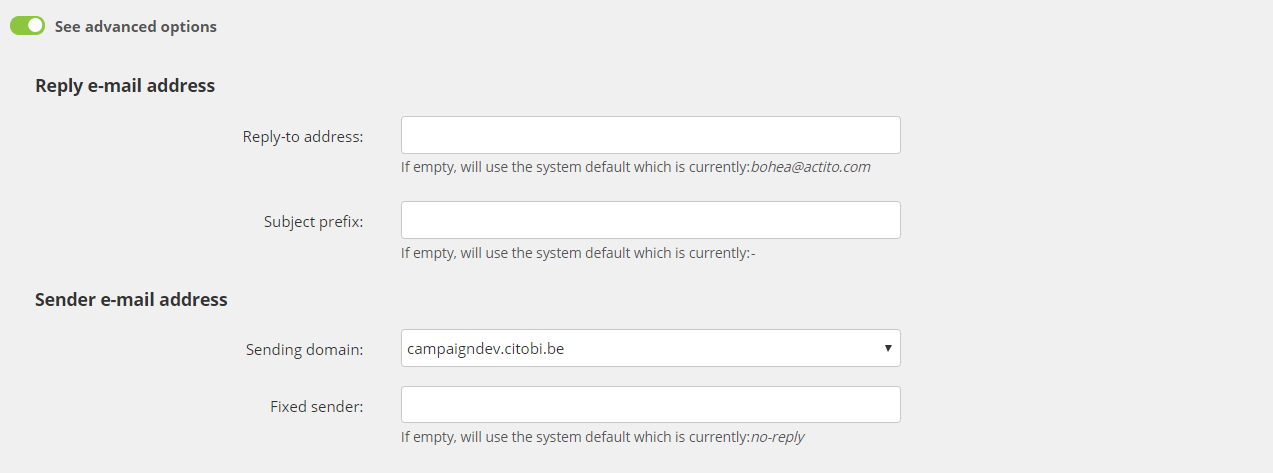
Reply e-mail address: You have the possibility to specify a return address for this campaign.
Sender e-mail address:
Sending domain: Allows you to choose among the sending domains available in your licence.
Address prefix: Lets you replace the predefined sender prefix (meaning the e-mail address section in front of the @) by a value specifically chosen for this campaign.
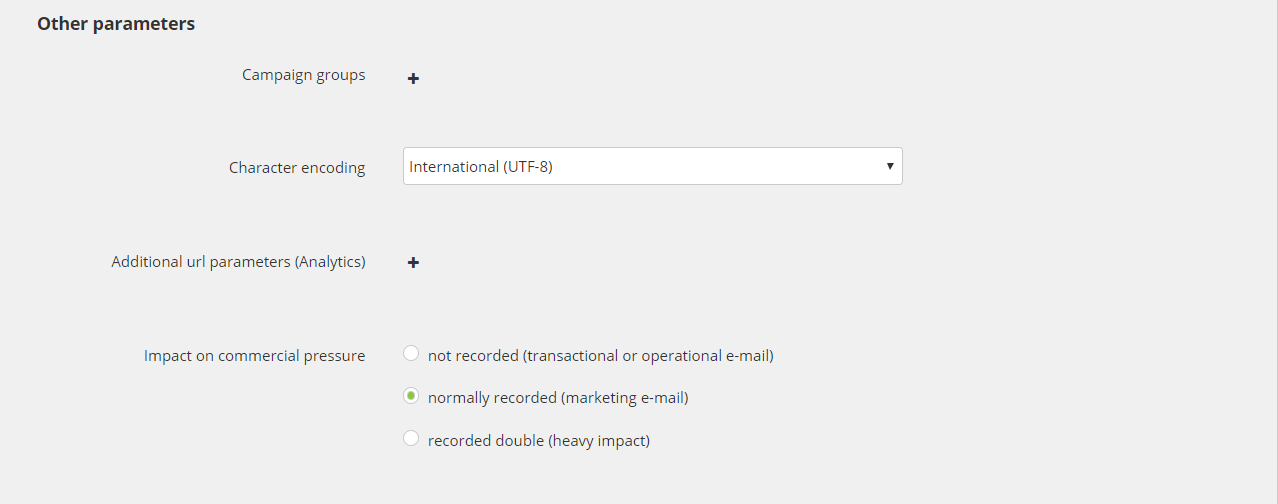
Campaign groups: You can add this campaign to an existing campaign group.
Tip
Grouping campaigns of the same kind together will let you analyze the results of all the campaigns within this group at the same time.
Character encoding: ACTITO gives you the choice between 2 options. The UTF-8 encoding is selected by default.
The UTF-8 format is the only one allowing you to use all kinds of characters: accents (é, à ,ô,...) and special characters (&, ...).
Additional URL parameters (Analytics):
This lets you define the general parameters of website traffic reporting tools such as Google Analytics. They will apply to each web link in your campaign.Thanks to this information, you have the opportunity to measure the efficiency of your marketing strategy and to compare the result of your communication.
utm_source: allows you to identify the publication source that directs traffic towards this link (for example: newsletter)
utm_medium: allows you to identify the marketing support (in this case: e-mail)
utm_campaign: allows you to identify the campaign name
The two other existing parameters (utm_content and utm_term) are optional.
Impact on commercial pressure
If you have commercial pressure rules established in your licence, this option will let specify the weight of your campaign. By default, the e-mail will be normally recorded, but it is possible not to record it (for example, for transactional e-mails) or to record it double for high-impact e-mails.
Step 2: Target group
At this step, you will have to select with whom you want to communicate.
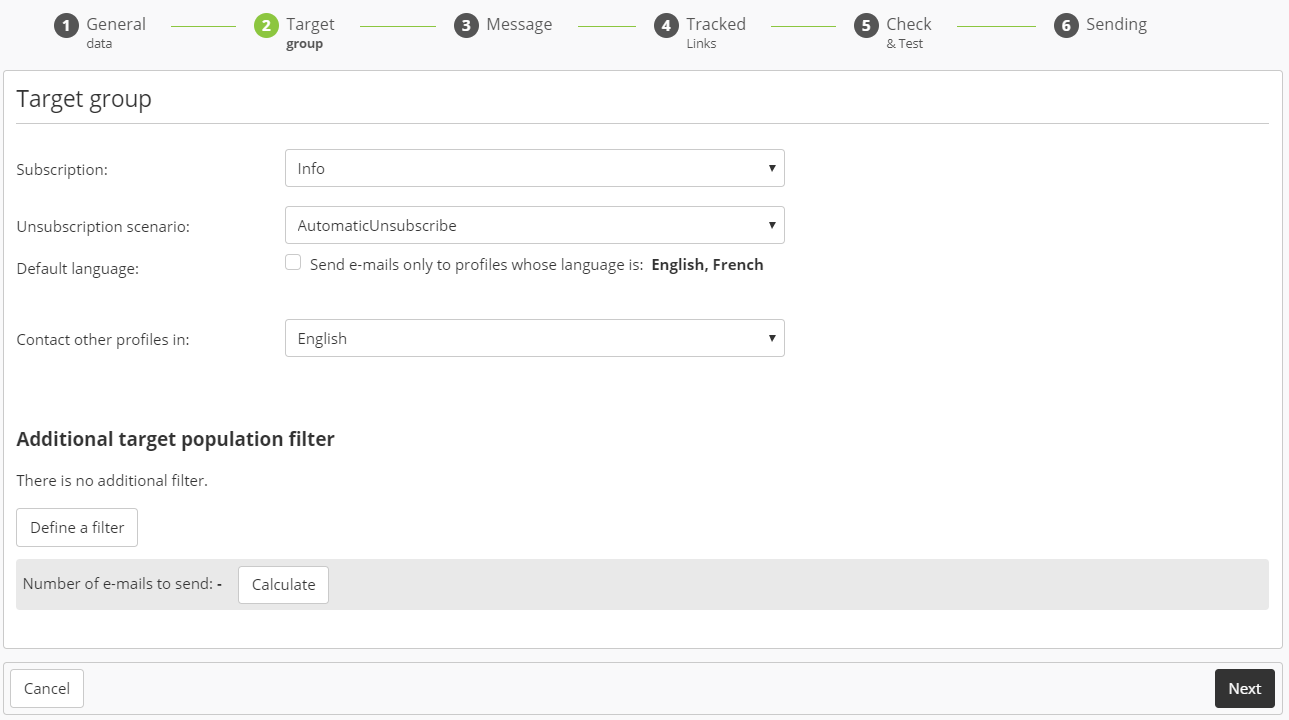
As Subscription and Language are essential aspects, it is mandatory to define them. By default, the e-mails will only be sent to profiles matching the language(s) chosen at step 1.
You always need to make sure to have the authorization of your contacts to communicate with them. You will therefore have to specify the subscription related to this campaign.
As such, only contacts registered to the chosen subscription will receive the campaign. If someone unsubscribes due to this campaign, only the subscription linked to it will be impacted.
For additional information regarding the importance of subscriptions, we invite you to read the relevant chapter.
Next, you may include additional filters in order to define your target population.
This process involves using the targeting module. Comprehensive information about how to use this module is available in the 'Targeting' chapter.
After setting up your filters, it is possible to estimate the number of targeted profiles.
Clicking the green icon will calculate your target. You will obtain the number of profiles meeting your criteria, which is the number of e-mails you will send.
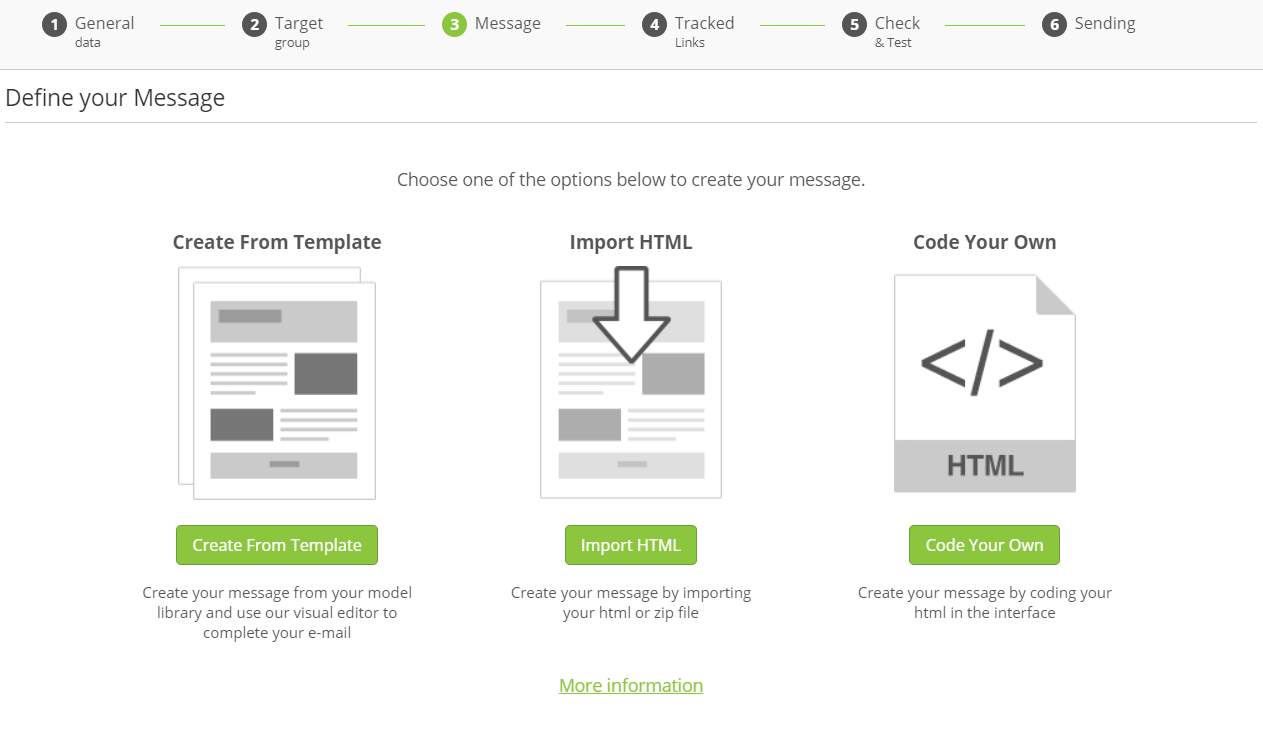
Step 3 : Message
It is now time to write your message. In order to do so, there are 3 options available to prepare its content:
Import HTML
Code your own HTML
Customization
It is possible to customize your e-mails by displaying a text element specific to each of your contacts: for instance, to address the recipient by using their first name.
To learn how to set this up, we invite you to read the chapter related to 'Customizing an E-mail'.
Tip
Even if you choose to code your own HTML, it is still possible to use customization in ACTITO. You only have to include the relevant $ tag.
Step 4 : Tracked links
After creating the e-mail and setting up the customizations, you will be invited to name your links and to check them in order to avoid any mistake.
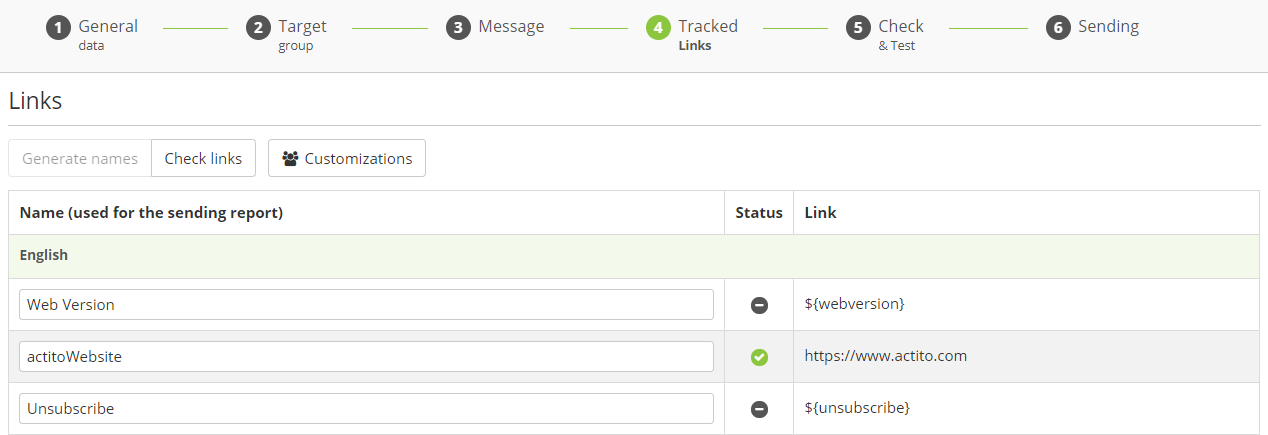
Generate names: this tab lets you apply technical names to your links.
If you gave a title to your links while setting them up, this title will be automatically used as the technical name of the link. If you left the title field empty, ACTITO can generate a basic name such as 'url1, url2,...'
Tip
To simplify your analysis of clicks within your e-mails, each link should have its own name. However, if you use links to the same webpage in different campaigns, keeping the same name overall will be useful, as it will let you do a global analysis (for example: pre-header, facebook,…).
Check links: clicking the button will automatically check that the links in the e-mail correctly direct to an online and existing webpage. If the status button turns red, you are warned of a possible incorrect link.
Tip
A red status does not necessarily indicate a 404 error. Other reasons are possible, such as for example if authentication is needed to reach the page or if the url has special characters but was not percent encoded.
Customizations: this tab enables you to once again check the customizations included in the e-mail.
This is especially useful to check customizations added to an URL.
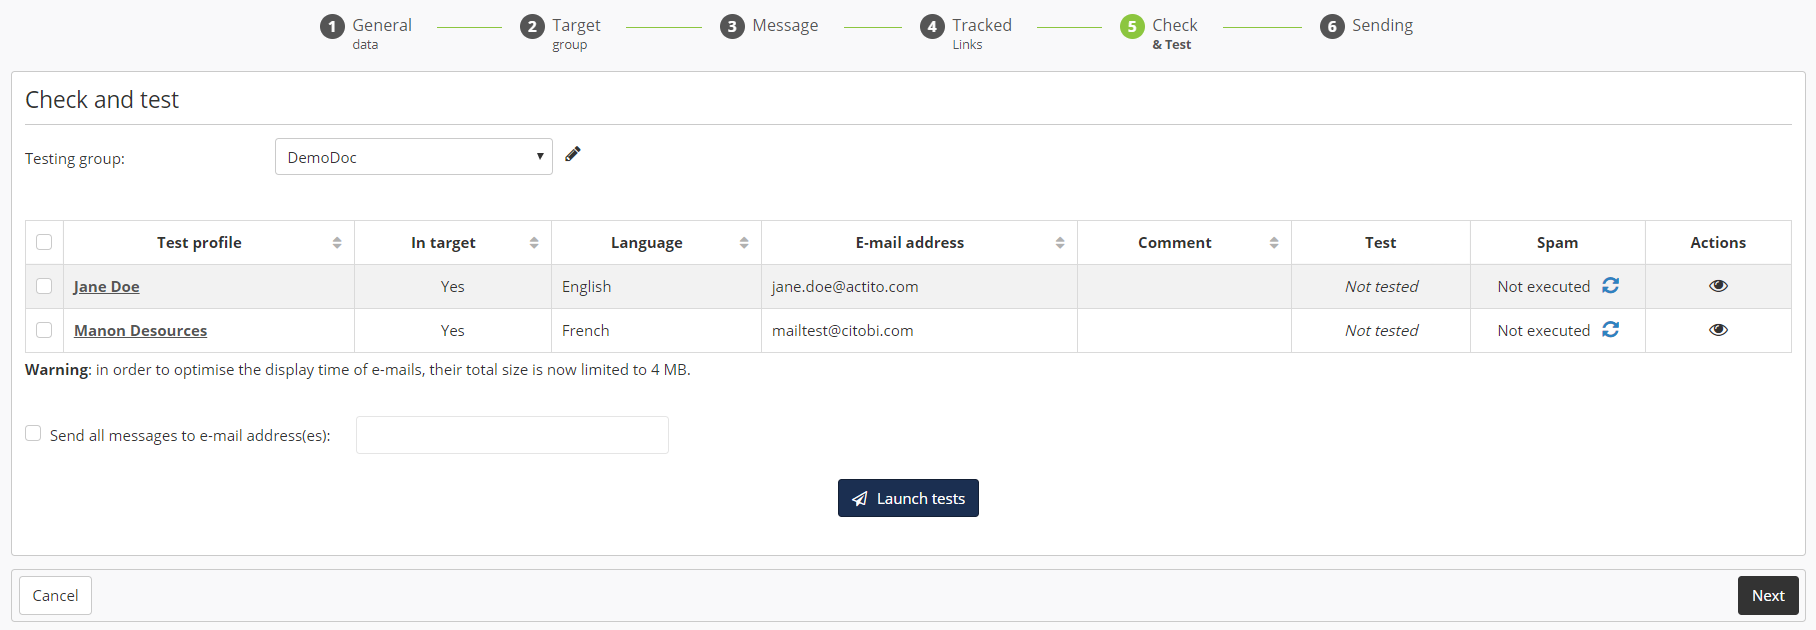
Step 5: Check and test
At this stage, you will be able to check the rendition of your e-mail campaign depending on the customizations and conditions you included.
If your internal e-mail campaign validation process requires you to send the different potential versions to control persons, you will be able to do it at this stage.
Choose the testing group on which you want to do your tests.
For further information about testing groups, such as how to set them up and how to use them, we invite you to read the section dedicated to them.
After choosing the most relevant testing group, 2 options are available:
Checking off the box next to each line belonging to you testing group. The profile must be associated to an e-mail address in the database. By choosing this option, you will really send e-mails to the selected recipients. Therefore, make sure to only select internal users.
Selecting profiles than checking off the 'Send all messages to e-mail address(es)' box. This will send the e-mails only to the address you entered instead of the selected profiles, while still taking into account the customizations applied to them. It is possible to enter more than one redirection address.
Good to know
Avoid clicking 'unsubscribe' links during this step unless you are specifically testing them, as unsubscribing in a test e-mail will be registered for real in the profile table.
IN TARGET column
This column specifies whether the profile belongs to the target population of your campaign, such as you defined it at step 2. However, during the testing stage, the e-mail will be sent even if the profile does not belong to the target group.
TEST column
After sending the test e-mail, you will view the status of the test:
not tested = no test e-mail sent yet
planified = e-mail sending in progress
in error/filtered = e-mail could not be delivered
not opened = e-mail was delivered but not opened yet
opened = e-mail was opened
SPAM column
You can also undergo a SPAM test and obtain information to optimize the structure of your e-mail.
A green bullet means that your e-mail is unlikely to end up in the spam folder. If the bullet turns orange, it is possible for your campaign to be viewed as spam. A red bullet means that your e-mail is very likely to end up as spam.
This test is a technical estimation of the spam level of an e-mail, only based on its content. ESPs (e-mail service providers) consider additional factors, such as the reputation of the IP and of the sender address. A green bullet does not guarantee that your e-mail will not end up in the spam folder.
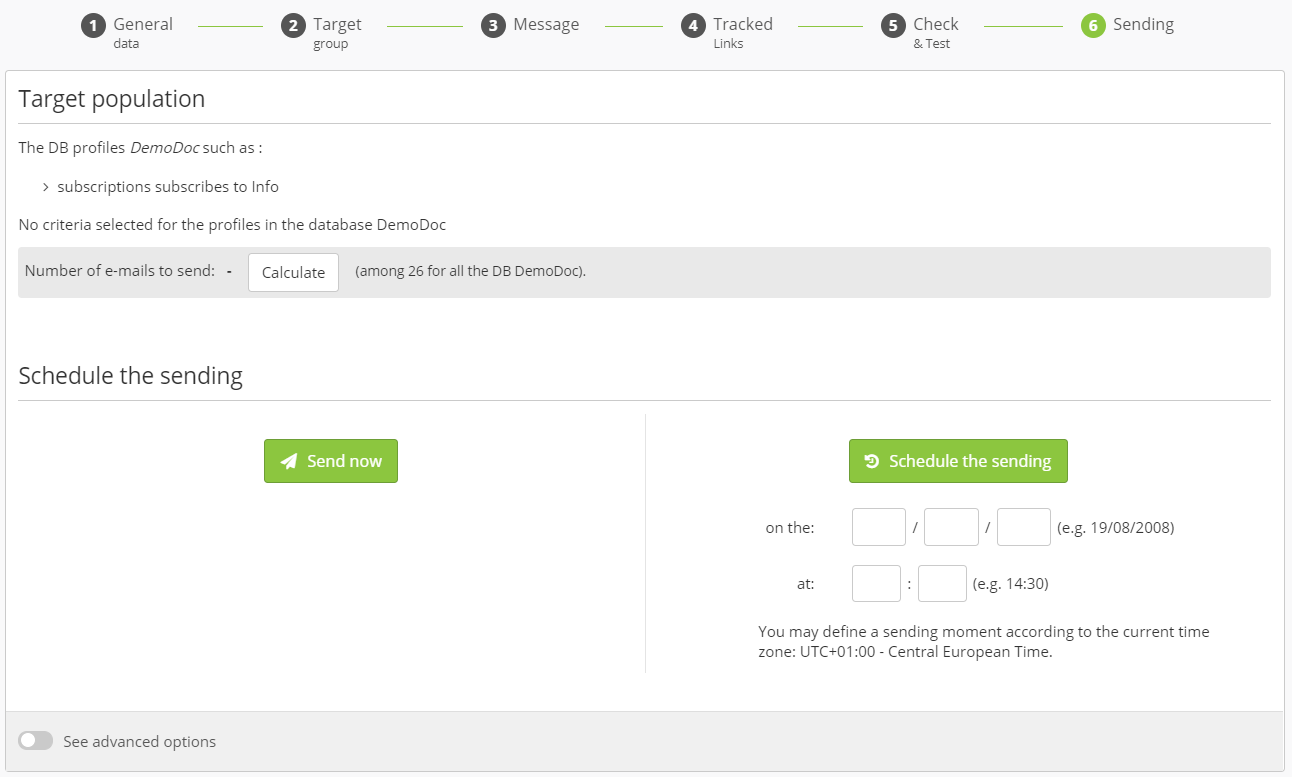
Step 6: Sending
If there are no errors in the content of your e-mail, you will reach the sending screen.
If everything has not been correctly defined, ACTITO will not let you access the final stage, in order to avoid sending campaigns still containing mistakes.
At this stage, you have the possibility to
Validate the target population
We advise you to check the population to which you will send the e-mail. The detail of your targeting will be displayed.
It is also possible to calculate the number of profiles in the target. This is however not necessary if you already launched this calculation at step 2 ("target group").
Schedule the sending
3 options are available to choose the type of sending:
Send now: Immediately send the campaign.
Schedule the sending: You can choose to plan the launch of your campaign at a specific date and time, in order to be sure that it will be sent at the moment of your choice, without having to worry about it.
Activate automatic sending: after clicking on 'See advanced options', you will be able to activate an e-mail for automatic sending, which means it will available for sending automation, that is to say, planning scenarios.
Activate the duplicate check
If you choose to 'Send now' or 'Schedule the sending', the confirmation screen will give you the opportunity to 'send only one e-mail by e-mail address'. Checking this box will ensure that, should an e-mail address be common to more than one profile in your database, your campaign will be sent only once per e-mail address.
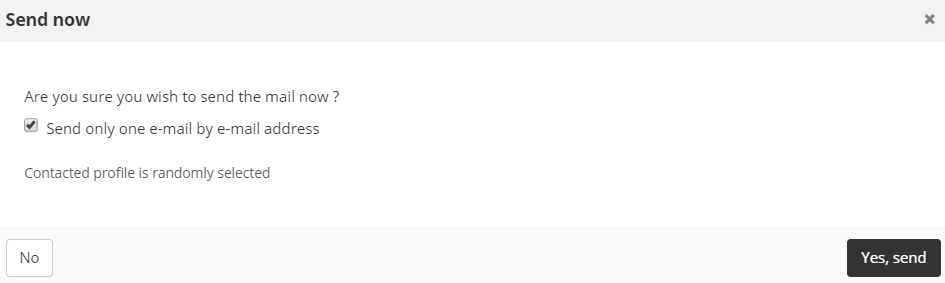
Good to know
Please note that in case of duplicates, the contacted profile will be randomly selected, which might affect your customizations. Your targeting should therefore be appropriate, in order to make sure that the information used for customizations are available in the targeted profiles (for instance, if a profile has more information then the other)
In the case of scenarized e-mails, the 'Only one e-mail by e-mail address" is not available. As scenario executions are based on a profile Id, an e-mail will be sent for each execution, whether e-mail addresses are duplicate or not. The behavior will also come into effect if the scenario is triggered by API call.