Connecting the Preference Center
To connect the 'Preference Center' form to an unsubscribing scenario, go to the 'Manage unsubscribes' app (Catalog > E-mail campaigns > Manage unsubscribes)
Creating a new scenario or editing the existing scenario
Two options are available:
If you only want to use one 'unsubscribe scenario' for all your customers, the easiest way is to edit the existing one (the standard one is called 'AutomaticUnsubscribe', if not already modified manually)
However, if you want to set up different scenarios according to client or subscription types, or to use the preference center in specific campaigns, you will need to create several new scenarios.
The connection between the 'unsubscribe' link of an e-mail and an available scenario will be done when you generate an e-mail campaign.
1. Creating a new scenario
To create a new unsubscribe scenario, click on the '+ Create' button.
It will allow you to set up various scenarios: you will need to choose which one to use during the preparation stage of your e-mail campaign.

2. Editing a scenario
Select the existing scenario that you want to update. The line will turn green. Next, click on 'Edit'.
Editing an active existing scenario will modify it in all existing e-mail campaigns in which it is used (even for already sent e-mails).

Step 1: General Data
Name the scenario and define on which entity the e-mails will be sent.

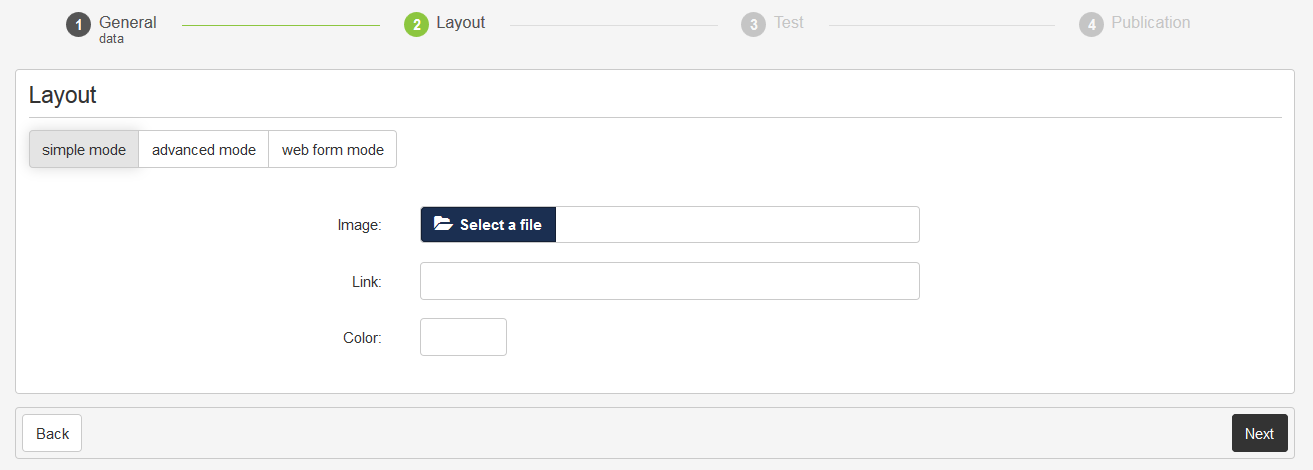
Step 2: Layout
This stage will allow you to choose the type of layout. There are 3 options available.
Simple mode
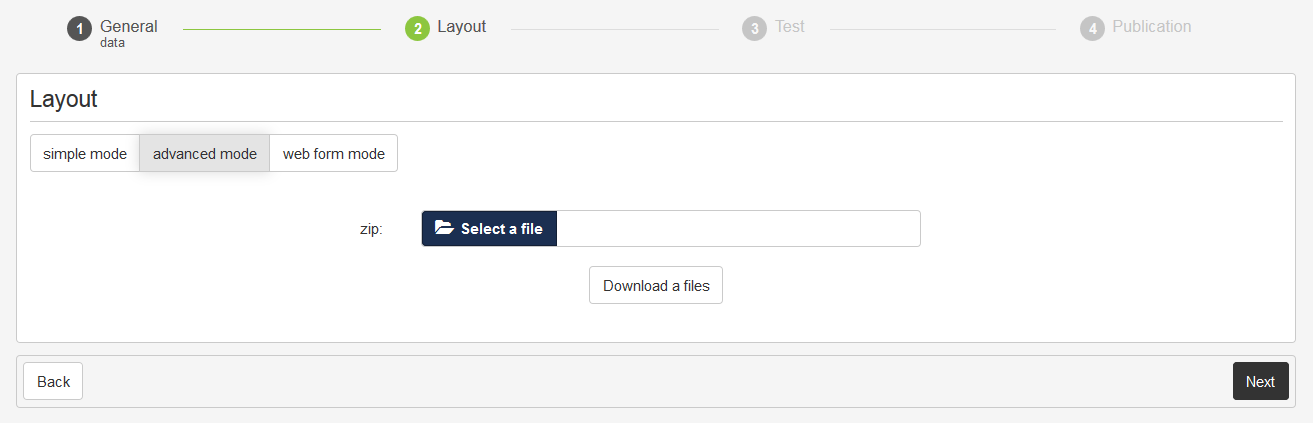
Advanced mode
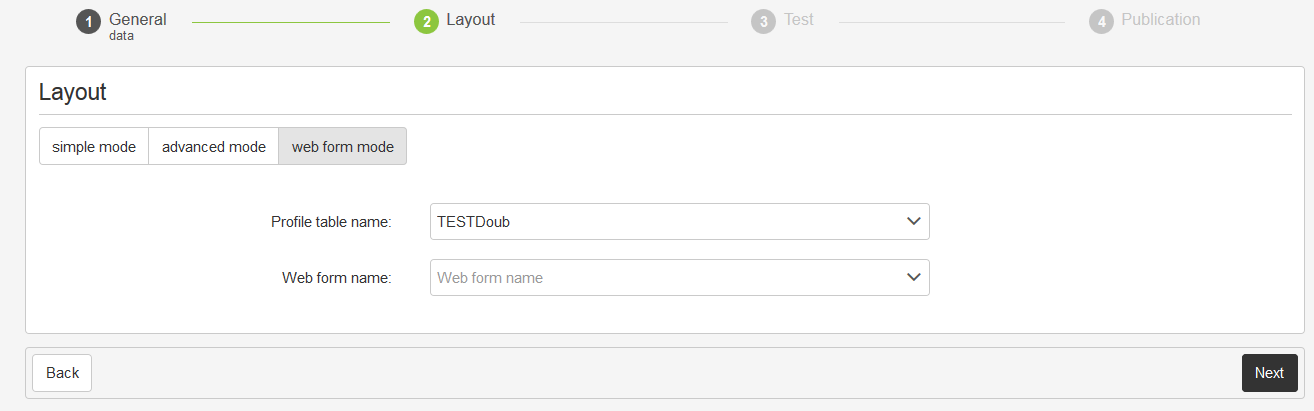
Web form mode
This mode will allow you to set up an ACTITO form (such as a 'preference center') as the unsubscribing (or subscription management) page.
Select the 'Web form' mode.
Choose the relevant profile table and select the form that you to use as your unsubscription scenario ( or preference center).
Please note that to be able to select a form, it must be active (or published).
Step 3: Test
To check that everything is working correctly, fill the 'test' form in order to send a test e-mail.
profile table and subscription : your profile database and the relevant subscription
profile sample: these are the existing testing groups at your disposal within your profile table
profile test: the profile on which you will carry out the test. Please note that the test will unsubscribe this profile for real (its subscription will be updated by clicking on '(un)subscribe links. You might need to subscribe this profile again at the end of your tests)
E-mail for test: this e-mail address will receive the test e-mail. We suggest you to use your own e-mail address.
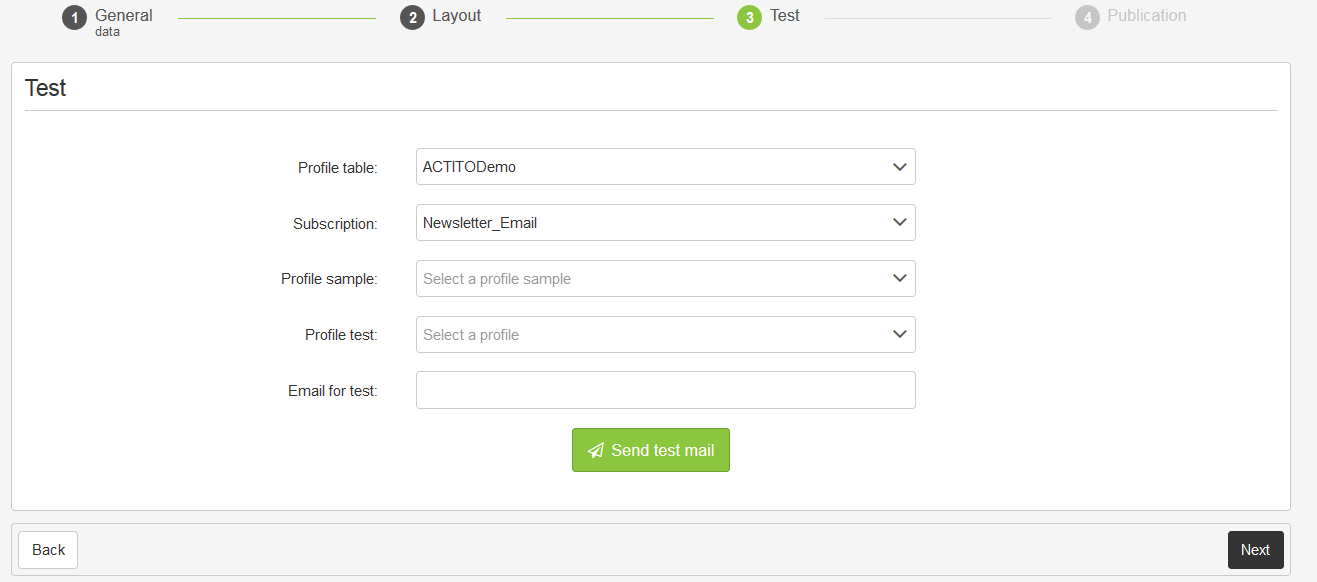
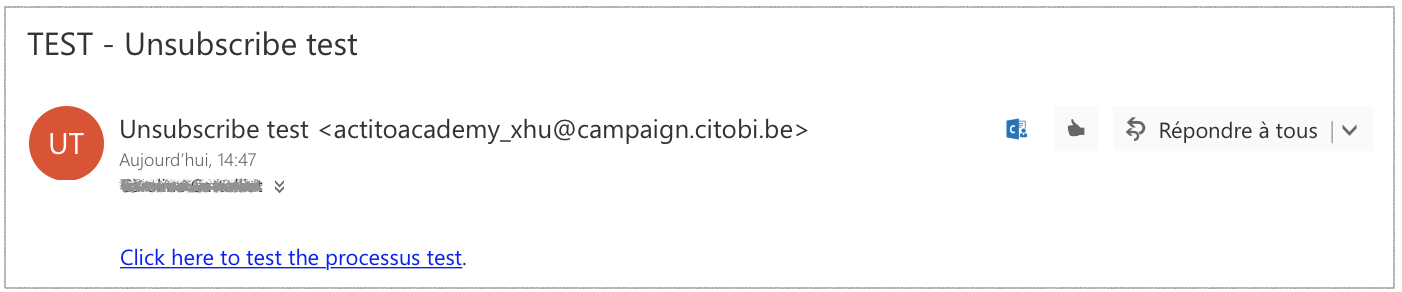
Click on 'Send test e-mail' to receive it in your mailbox. Clicking on the link will allow you to test your scenario.
If everything is working correctly, clicking on 'next' will send you to the final step.
Step 4: Publication
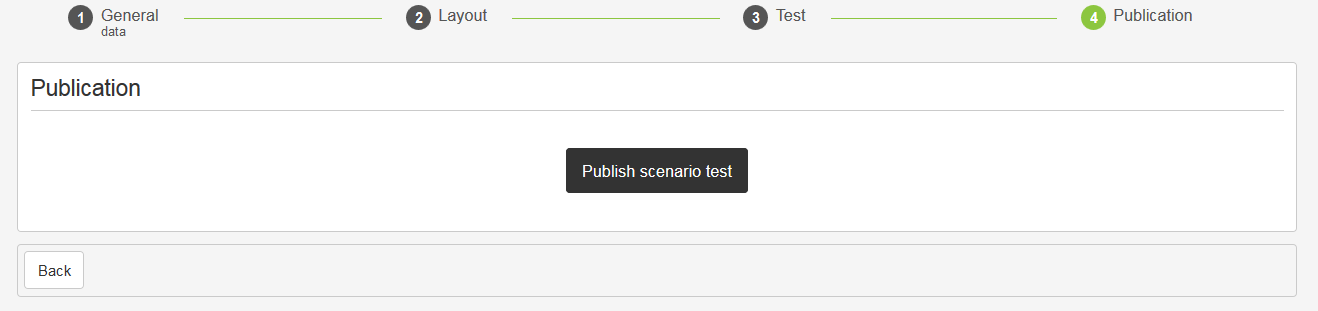
After the publication of the process:
If you created a new scenario, it will be available for use in your e-mail campaigns.
If you edited an existing scenario, the new version will be used automatically when someone clicks on the 'unsubscribe' link of an e-mail in which this scenario is already used.