Managing Scenarios
First of all, the ‘Manage Scenarios’ application gives you a global view of each of your scenarios, whether in definition, active or finished.

The 'Search' tab will let you make a (not case-sensitive) 'includes' search. This search will only apply to the name given to the scenario.
You can also carry out specific actions by clicking on the various buttons located at the top of the table:
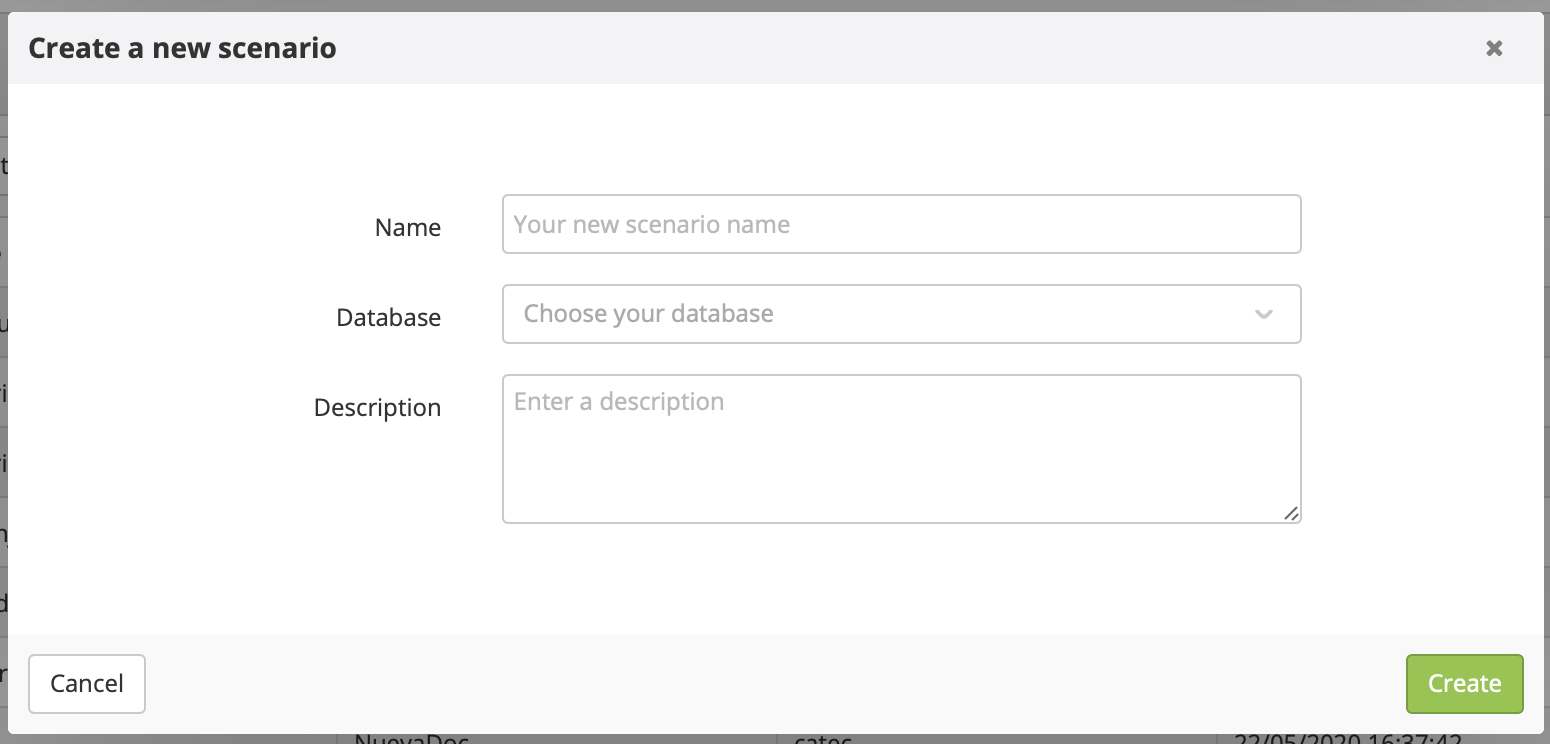
By clicking on '+ Create', you can create a new scenario. You will have to define the name of the scenario, choose the relevant profile database as well as the entity. You will also have the opportunity to add a description related to this new scenario.
Please note that the name and the description can be edited at a further stage. However, it will not be possible to modify the database and the entity.
After the creation of the scenario (when you click on ‘Create’), you will reach the configuration page and will be in ‘Edition’ mode.
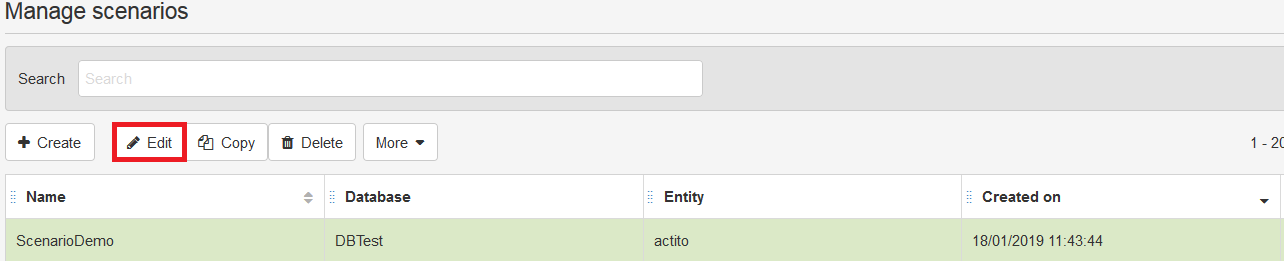
You can come back to the ‘edition’ of an 'in definition' scenario at a later stage. You simply have to click on the relevant scenario (the line will turn green) then select ‘Edit’. A double-click on the line of an 'in definition' scenario will also direct you to the 'edition' page.
As soon as a scenario is 'activated' , it will not be possible to edit it anymore. Should a scenario be active, the ‘Edit’ button will be greyed out.
c. The Copy button allows you to copy the scenario. You will be able to modify everything but the database and the entity.
d. The Delete button. A scenario whose status is 'active' cannot be deleted. It must be stopped first, then deleted.
3. The '+More' button will display a drop-down list with additional actions:
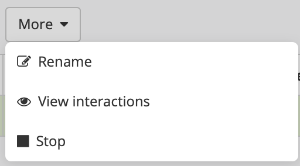
Rename a scenario: modify the name and the description of the scenario.
View interactions: Clicking on this button will display the list of interactions in your scenario. You will reach the list of profiles which followed the selected scenario. It will display the moment of their passage through each block of the scenario as well as their final status.
Stop a scenario: two options are available:
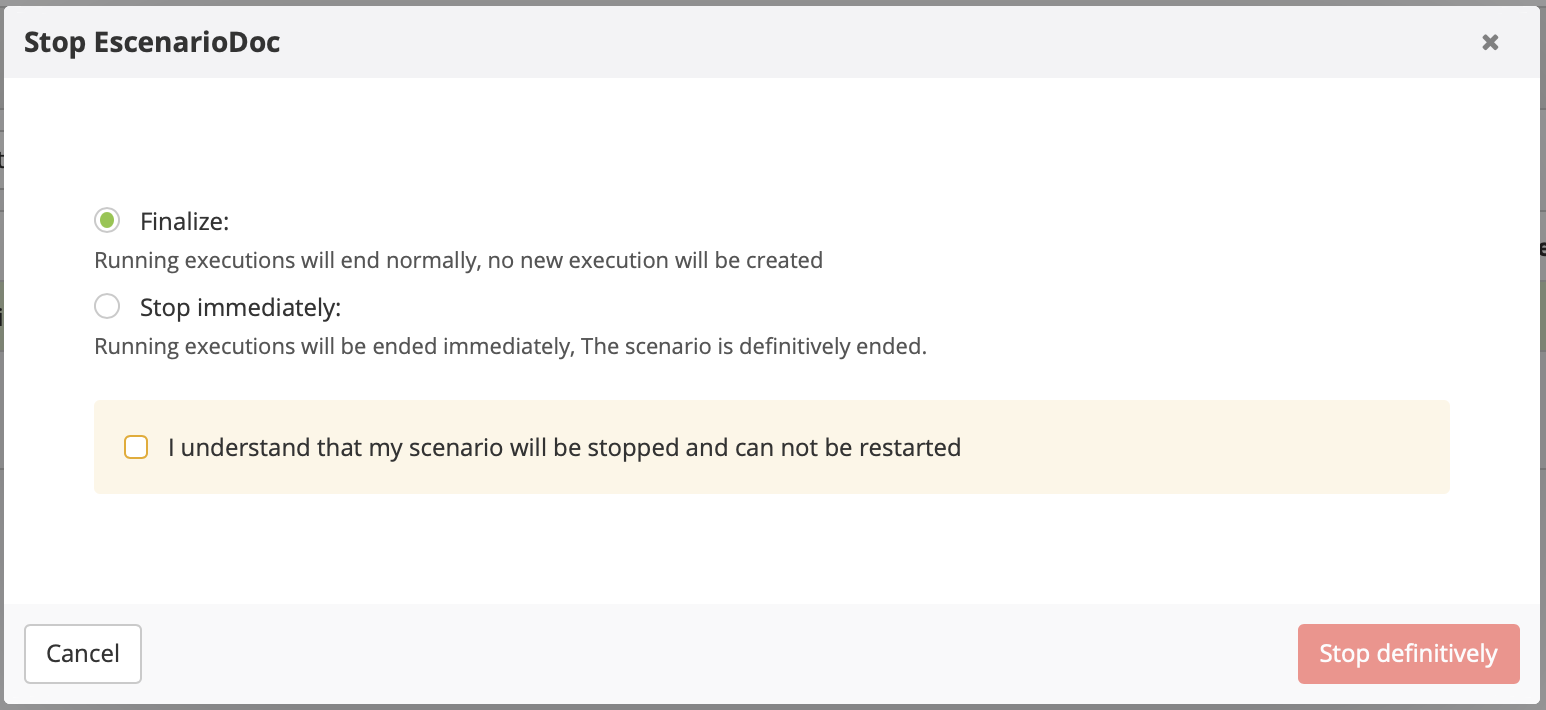
Finalize: The scenario will stop progressively: each of the still running executions will come to an end, but no new execution will be launched. After the end of the ongoing executions, the scenario will display an ‘end date’ (or finalization date in the reporting) and its status will change to ‘Finished’.
Stop immediately: Running executions will be directly stopped and the scenario will close immediately. The status of the scenario will change to 'Finished'.
The scenario will not have an 'end date' but a ‘stop date’ will be written in the reporting (the report summary of an immediately stopped scenario will show a 'stop date instead of a 'finalization date')
d. Delete a scenario: Only 'Finished' scenarios can be deleted. They must be stopped first, then deleted
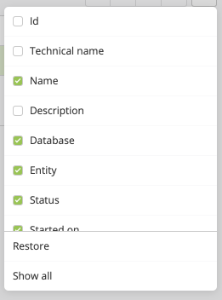
4. The menu to the right will let you choose which columns to highlight, to add or to delete.