Customizing an E-mail campaign
ACTITO lets you customize your e-mails in order to display text elements specific to each of your contacts. This can call on attributes of the Profile table, but also on various other data.
To insert a customization, type the $ tag followed by the name of your customization between curly brackets (for example, $firstName) where you want your customization to appear in your message. When the recipient will receive the e-mail, this tag will be replaced by the corresponding value for their profile.
Tip
It is not allowed to use special characters or spaces in the technical name of customizations. For instance, ${firstname} must be used instead of ${first name}.
To define customization parameters, click on the 'Personalizations' button.

Simple customizations
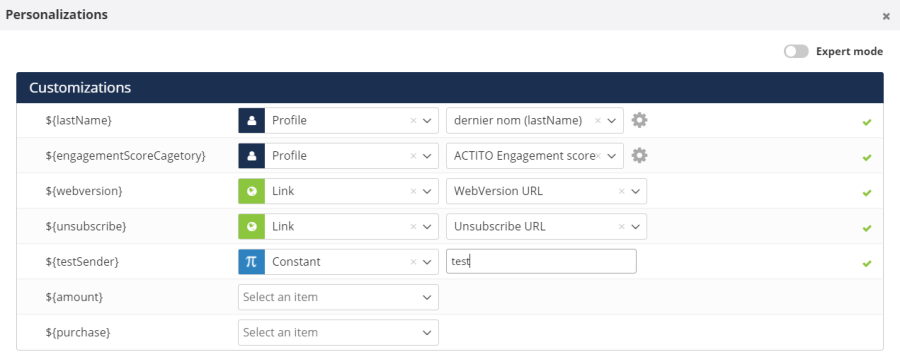
You will reach the customization settings interface. By default, you will see the customizations included in the subject and the content.
When the name of the variable is exactly the same as a profile attribute, the matching will be pre-filled.
In other cases, you will need to match your customization with the data of your choice.
First of all, it is necessary to select the data source. Five data sources are available by default in the dropdown menu: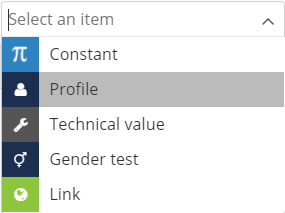
Constant: replaces the variable by a fixed value
Profile: allows you to call on every profile attribute
Technical value: allows you to use technical attributes
Gender test: allows you to display a different message according to the gender of the profile (for example, Sir/Madam)
Link: allows you to refer to a link. It can be an unsubscribe link, a webversion link, a link towards an ACTITO form or a custom URL.
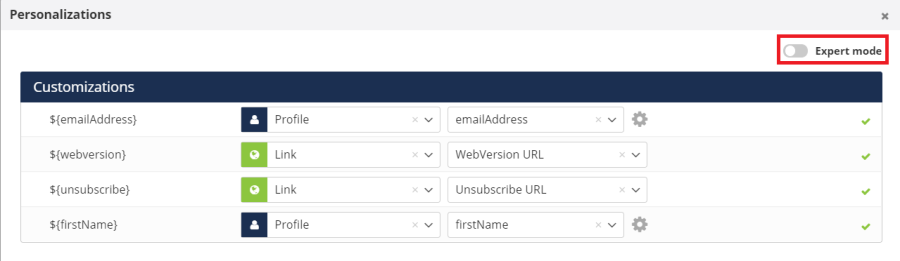
Expert mode
In addition to 'base' sources, it is possible to use more advanced data.
To do so, you need to activate the 'expert mode' on the top left of the interface.
A new tab called 'Data sources' will appear in the interface. Three kinds of advanced data can be added.

Survey: to customize using information from an ACTITO survey
Table: to use information from the Custom tables of the Data Model
File: to customize with an external file (csv file). This is useful to customize with one-off data which do not need to be stored in ACTITO (such as a discount code).
Once selected, the source will be available in the bottom part of this screen and you will be able to allocate it to the correct customization parameter.
Interaction tables
Due to their nature, interaction tables often contain several lines for the same profile (for example, in an 'order' table, the same profile can have several orders).
Defining which line must be used by the customization:
By default, ACTITO will take the last line. What exactly is the 'last' line is defined when the table is created. Usually, it will be the line with the latest creation date.
However, in some cases, another sorting method might be more relevant to your communication. If you do not want to use the 'default' option, click on the cog icon to the right of the data source line.

You will have two options:
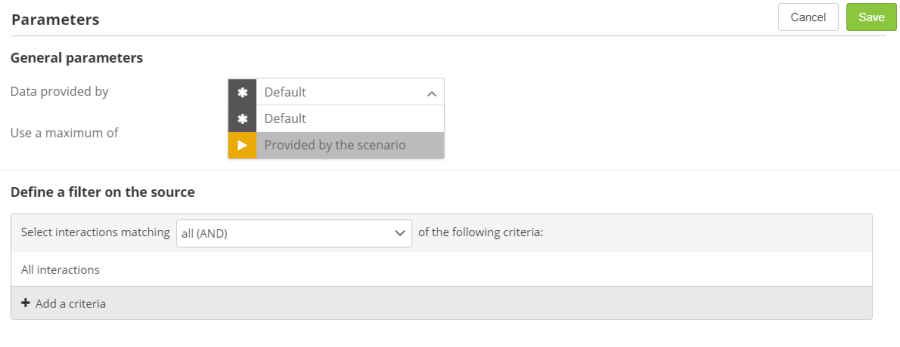
Provided by the scenario: this option should be chosen for your scenarized sendings when the start block of the scenario is related to the value of the customization (for example, if the scenario is triggered by a ticket creation, by a targeting defined in a scenario,…). In doing so you will be sure that the information used to trigger the scenario and the information used in the customization are the same.
This option is only available for scenarized and transactional campaigns.
By default + filter: You retain the logic defined during the creation of your table, while reducing the range of possible results.

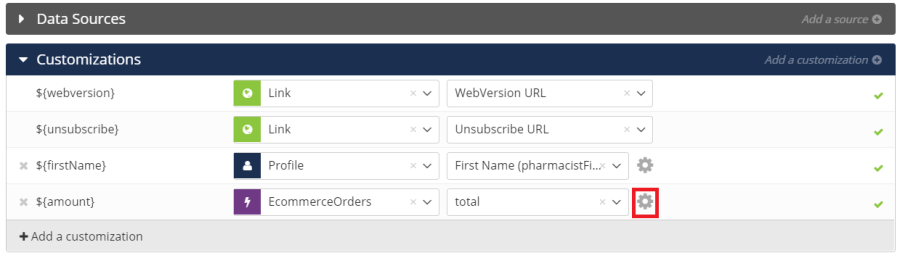
Configuring customizations
After selecting your data source, it is not necessary to use the data exactly as it is. You can transform it.
To do so, click on the cog icon to the right of the customization line.
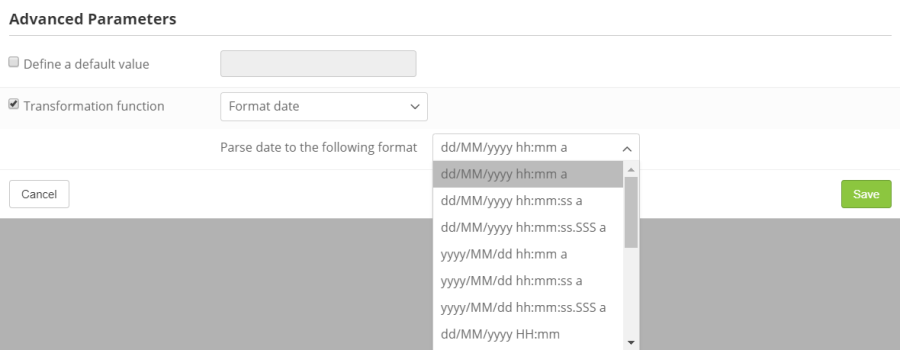
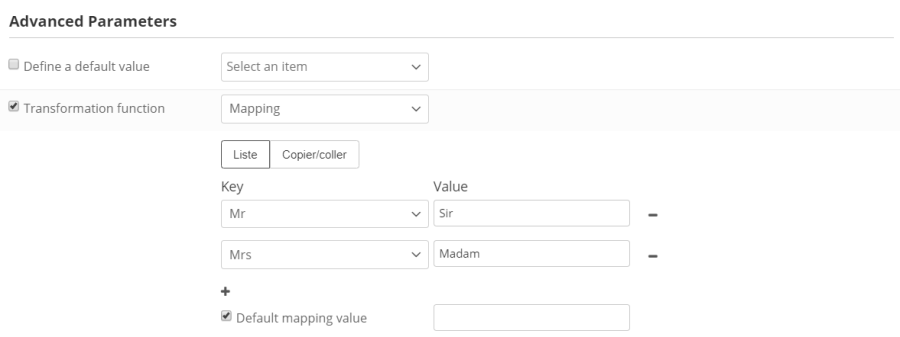
Define a default value
You can define a default value, which will replace the customization if it does not have a default value for the profile.
If no default value is defined in such a case, the customization will be empty (a blank space will be displayed).

Transformation function
Some values allow data transformation:
Mapping
The 'sex' attribute allows you to create a 'gender test' and display 'Sir' or 'Madam'.
Date format
You can choose how to format dates