Using Goals in ACTITO
The 'Goals' module is more than a mere statistics tool for web page visits.
Its most useful feature is that achieving a goal can linked to various ACTITO applications. Upstream, the goal can be associated to the ACTITO campaign because of which it was reached. Downstream, it can be used as a starting point for various ACTITO applications.
Thanks to goals, you can:
Measure the efficiency of an e-mail campaign
Target profiles
Add a contact to a segment
Trigger scenarios
Measuring the efficiency of an e-mail campaign
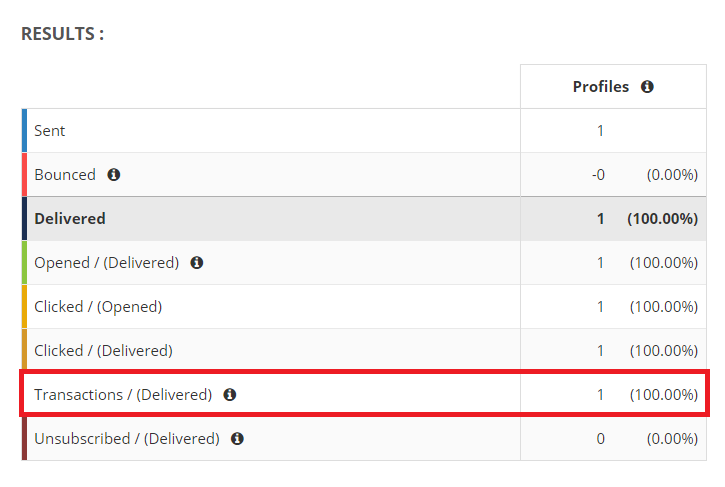
Because the storage of the cookie is due to the interaction between the e-mail and the script, you will be able to directly measure the amount of transactions generated by a campaign.
If a link in an e-mail directs towards an active transaction goal, the amount of transactions generated due to this e-mail will be shown in the individual campaign report. A transaction will be allocated to an e-mail campaign as long as the cookie generated by the e-mail remains on the device of the contact.
The lifetime of a cookie depends on the type of goal:
12 months for website visit goals (legal maximum)
1 month for transaction goals
Targeting profiles
'Goals' can be added to the blocks of the targeting module. For instance, this will enable you to define the target of a mass campaign as the profiles who reached a specific visit goal.
For additional information about the use of the targeting module, we invite you to read the chapter dedicated to 'Targeting'.
Astuce
You will only be able to add a 'Goal' block from the drop-down menu of the targeting module if an active goal is linked to the profile base for which you are defining a targeting.
Adding a contact to a segment
'Goals can be used to add a profile to a segment. For instance, this can be done for a segment grouping profiles who showed interest for a product.
To do so, you must have created a simple segmentation beforehand in which you will add every profile who visited an information page dedicated to this product. In our example, the segmentation will be named 'InterestProductName'. To set up segmentations, we invite you to read the 'Adding a segmentation to a profile table' page.
Next, is is necessary to create a website visit goal which includes the address of the pages dedicated to the selected product in the URL settings.
The next step consists in defining a segmentation rule. To do so, go to the 'Segment profiles' application (Catalog > Automation > Segment profiles) .
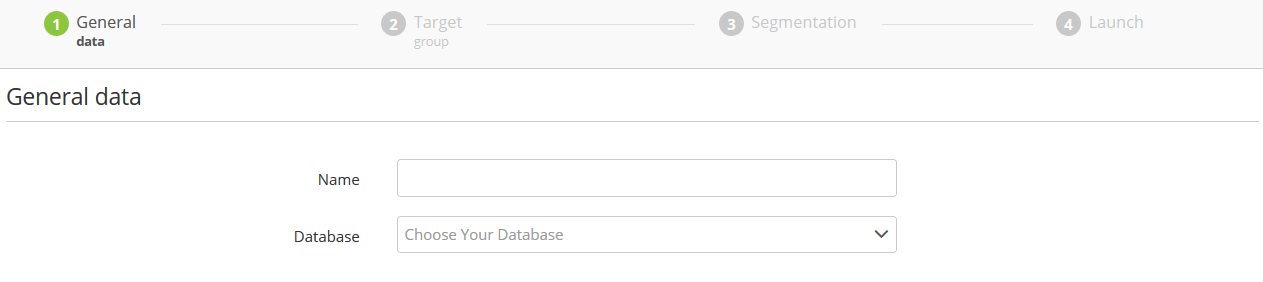
Step 1: General data
Click on the 'Create segmentation' button, then select your database.
The dropdown menu will only display databases for which an existing segmentation has already been created in the Profiles menu (as explained above).
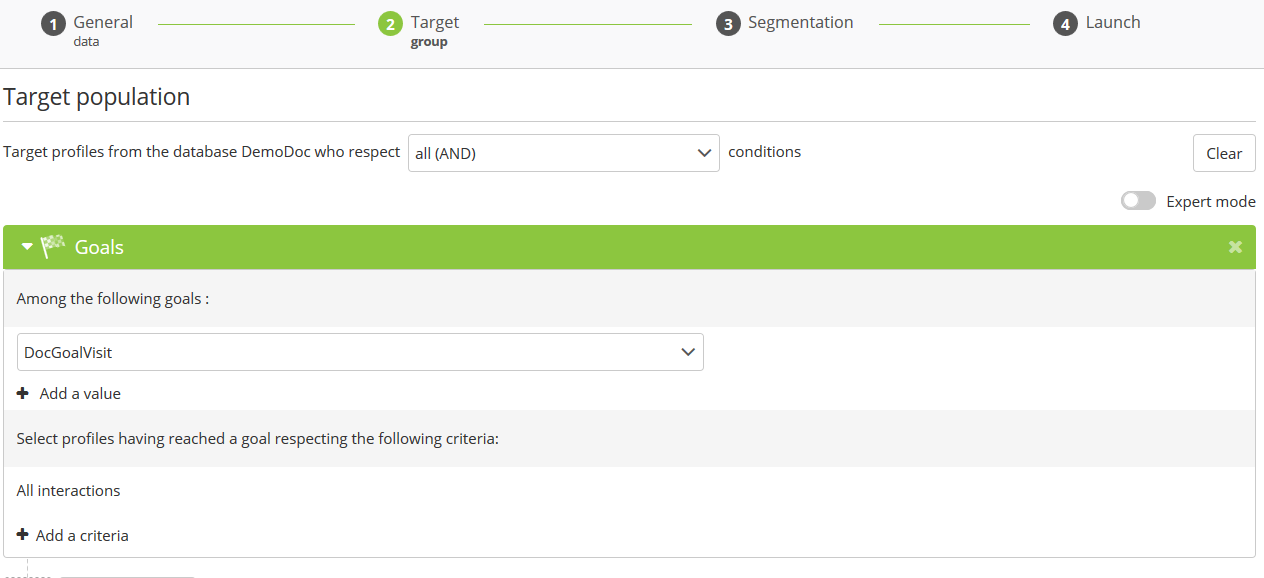
Step 2: Target group
The second step consists in using the targeting module to define the target selection criteria, exactly as explained above. In the case of a segmentation based on the interest for a product such as in our example, the rule might simply be 'All interactions' for the web page visit related to the pages dedicated to the product.
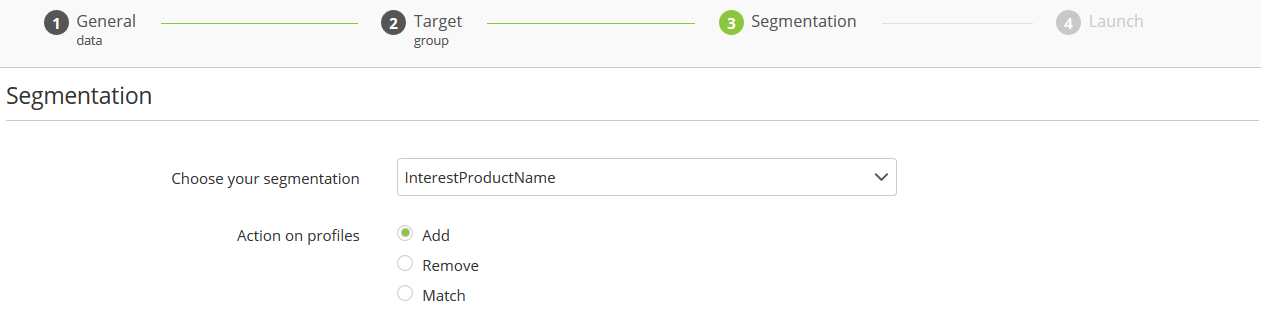
Step 3: Segmentation
At the third step, choose the name of the segmentation created beforehand in which you want to add profiles (InterestProductName in our example).
Step 4: Launch
Finally, check the 'Activate automatic segmentation' box at the last step so that your segmentation is periodically updated and that profiles to visit a page dedicated to the selected product are automatically added to the segment.
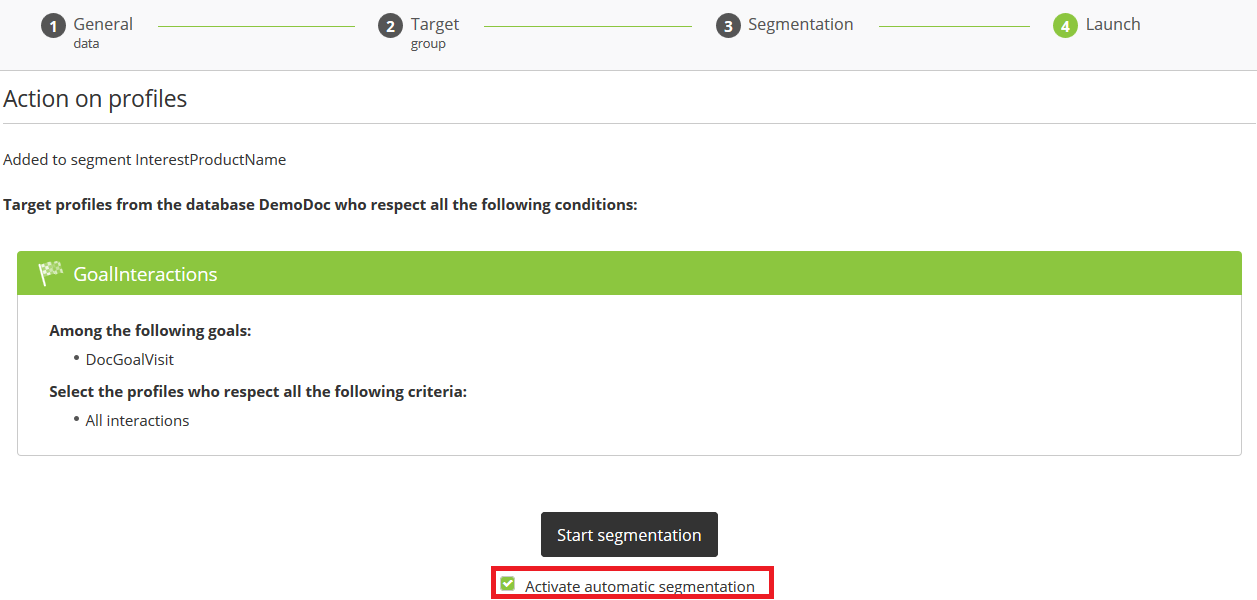
Next, you can click on 'Start segmentation'.
Tip
It is possible to limit in time the affiliation to a segment, for example to avoid that a profile who visited a page two years earlier would still belong to the segment grouping people who show interest for this page.
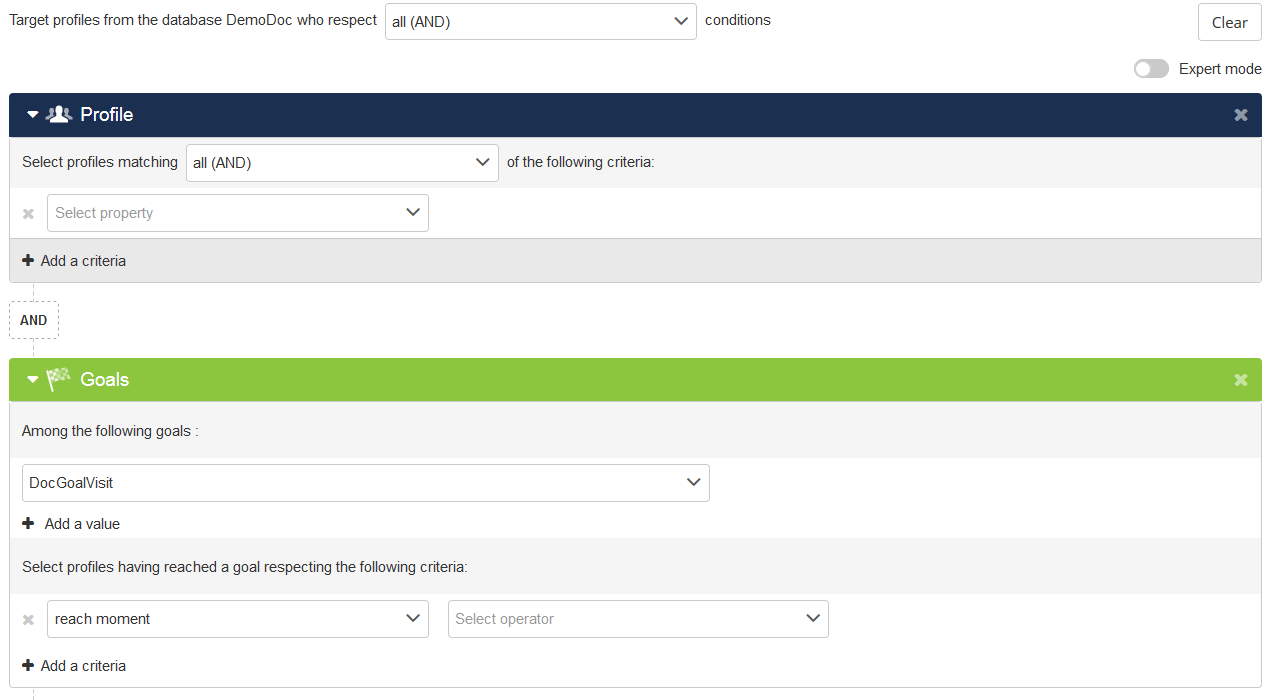
To do so, you have to define a rule relating to the 'reach moment' at the targeting stage (for example: 'reach moment is less than 30 days ago').
Next, you have to check the 'Match' box at the third step, in order to add profiles who meet the criteria and to remove profiles who do not meet it anymore.
Triggering scenarios
The 'Goals' module can be used to trigger scenarios. We invite you to read the 'Scenarios' chapter to learn how this application works.
Choose a 'Goal' block as 'Start event', then click on the 'edit' icon to choose which goal will be used as starting point of your scenario.
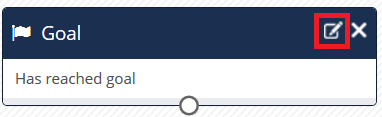
As such, as soon as they reach the goal, the profile will enter the scenario.
After that, you are able to plan a wide range of interactions in your scenario, such as sending an e-mail, an SMS message,...
Tip
It is especially important to consider the scenario 'options' in the case of a scenario triggered by a goal. This where the 'Number of executions' and the 'Global exit conditions' are defined (see point 6 of 'The Blocks of a Scenario').
Make sure to define a relevant 'Number of executions' rule. Indeed, ACTITO registers one interaction per goal, per profile and per day. Should a profile visit a web page several days in a row, it might not be appropriate to trigger the scenario on each day.
In the case of an abandoned cart reminder scenario based on visiting an order page, it is best to define a global exit condition based on the creation of an order line.