Understanding the Blocks of a Scenario
The Scenario application enables you to access the data available in ACTITO to create an automation, thanks to a selection of blocks.
To create or edit a scenario, go to 'Manage Scenarios' (Catalog > Automation > Manage Scenarios')
The edition page of a scenario enables you to add various blocks. They are available on the left of the screen and categorized in 5 goals:
'Start' events
Filters
'Wait' blocks
Actions
'Exit' blocks
The goal of the scenario is therefore to define the expected action based on a starting point. It is also possible to set up specific specific conditions or waiting moments, and even general parameters related to the execution of this scenario. All these parameters must be defined and filled in to activate the scenario.
1. 'Start Events'
As suggested by their name, these blocks are the starting point of your scenario.
The 'Start Block' allows a scenario to trigger, as well as the execution of the ensuing steps.
Note
You cannot use more than one 'start event' for a scenario. To have two starting points, you must create two scenarios that refer to each other (see ‘Actions’ blocks > Start a scenario).
'Subscription' Block

The scenario is triggered when a profile subscribes to one of your subscriptions, for example, to a newsletter. If you click on the pencil icon at the top right corner, you will be able to select several subscriptions (in such a case, subscribing to any of these subscription will trigger the scenario).
'Targeting' Block
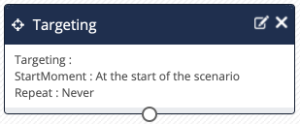
The scenario is triggered when a profile is included in a target. Unlike other start events which trigger the scenario in real time, the 'Targeting' block will be calculated at a set frequency (up to once a day).
It's important to remember that this is a scenario. If what you would like to do is simply sending a communication to a great number of profiles (more than 100 000) who meet the same targeting conditions, we recommend launching a mass campaign instead. The performance will be better, as scenarios are made above all for continuous communication.
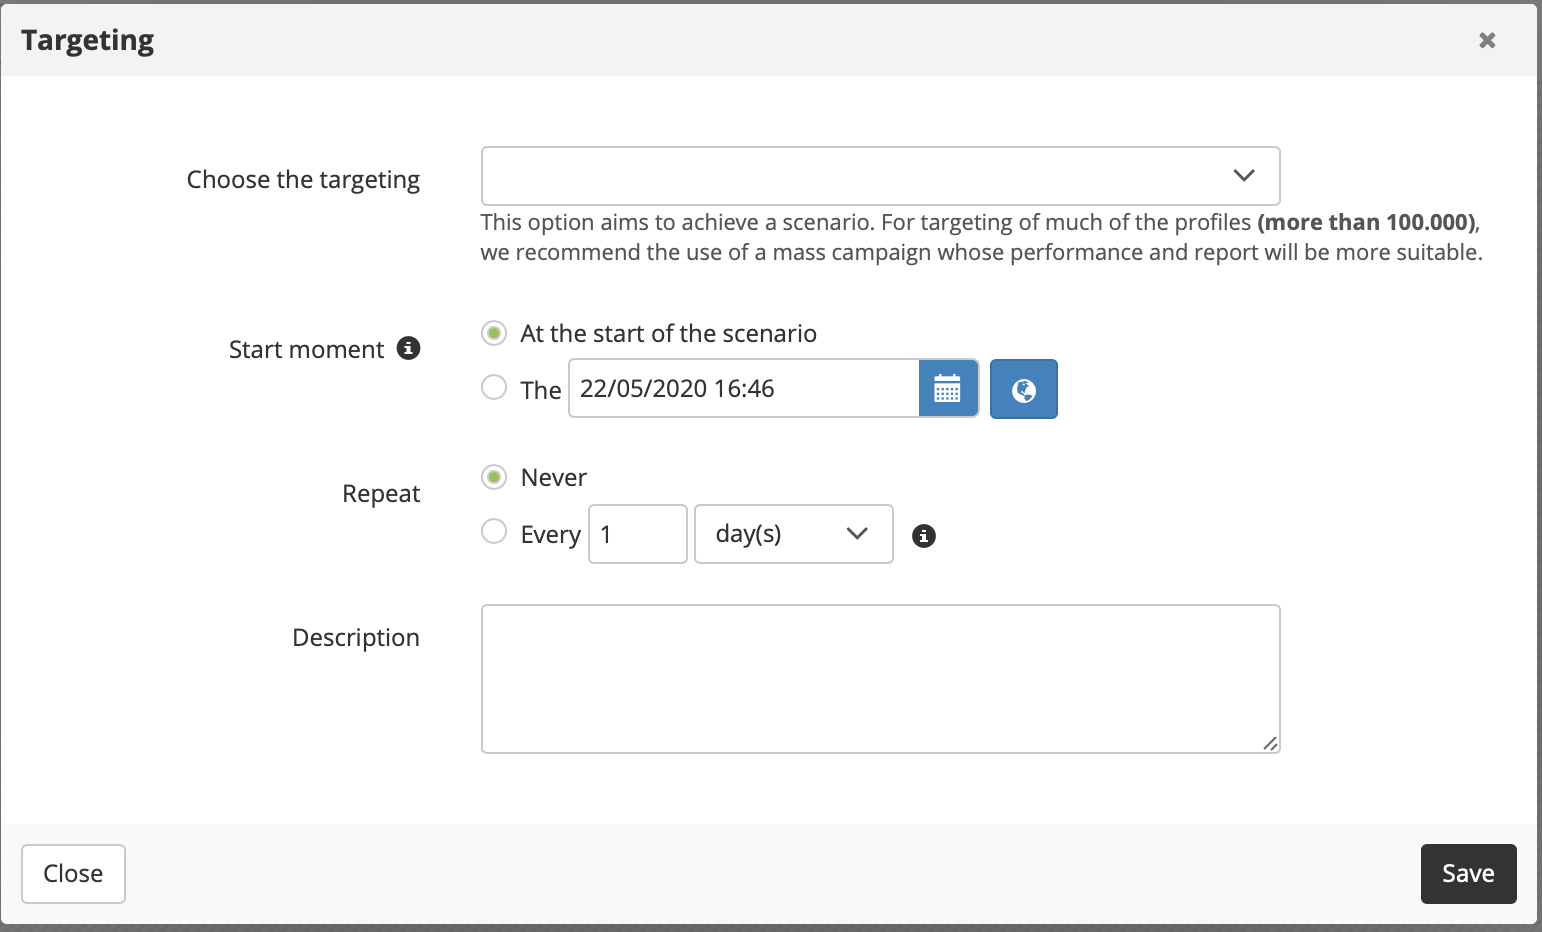
There are some parameters that you need to define:
The targeting, which you must have created before through the 'Manage targeting' app.
The scenario's start moment.
The repetition frequency, in days or weeks (up to once a day)
In the field 'Description' you can indicate whatever information you might find useful.
'Anniversary' Block
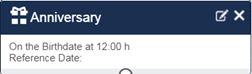
The scenario is triggered based on the ‘anniversary/birthday’ date of each profile. This scenario is based on the dates stored in your profile table. The anniversary is therefore not necessarily linked to the birth date, but can also celebrate other anniversaries, such as a registration date to a customer loyalty program (should the information be available in the profile table).
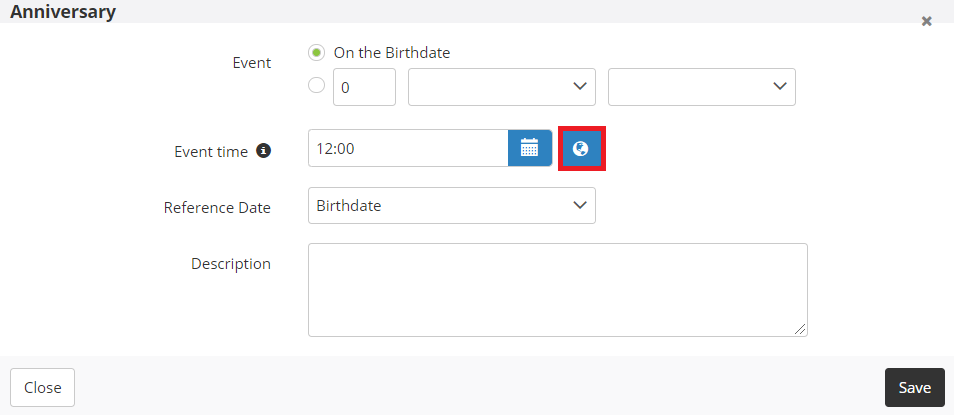
Several parameters must be defined for this 'Start event':
Trigger date of the scenario: By default, it is the birth date of the profile (exact day and month, without taking the year into account). However, it is possible to choose to trigger the scenario X day(s)/week(s) before or after this 'anniversary' date.
Event time: The time of the day when the execution must be launched: this is the moment when the scenario will start searching your database for profiles matching the criteria.
Reference date: This corresponds to the attribute on which the anniversary will be calculated. The anniversary can also be calculated based on any other ‘date’ type field available in your database.
Info
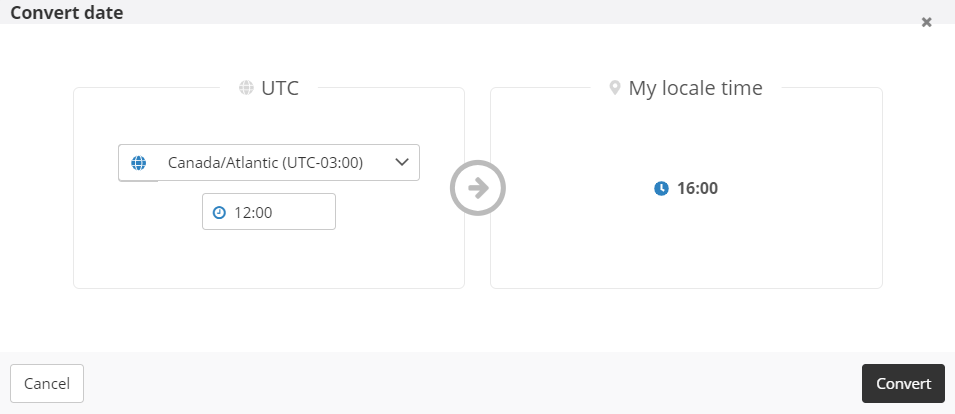
When you define an event hour, the timezone used will be that of your browser.
If you want to define your scenario on another timezone, click on the "World" icon next to the time picker in order to open a modal window which will let you convert any timezone into your local time.
'Other Interaction' Block
The scenario will be triggered each time a new interaction is recorded in one of the interaction tables linked to your profile table
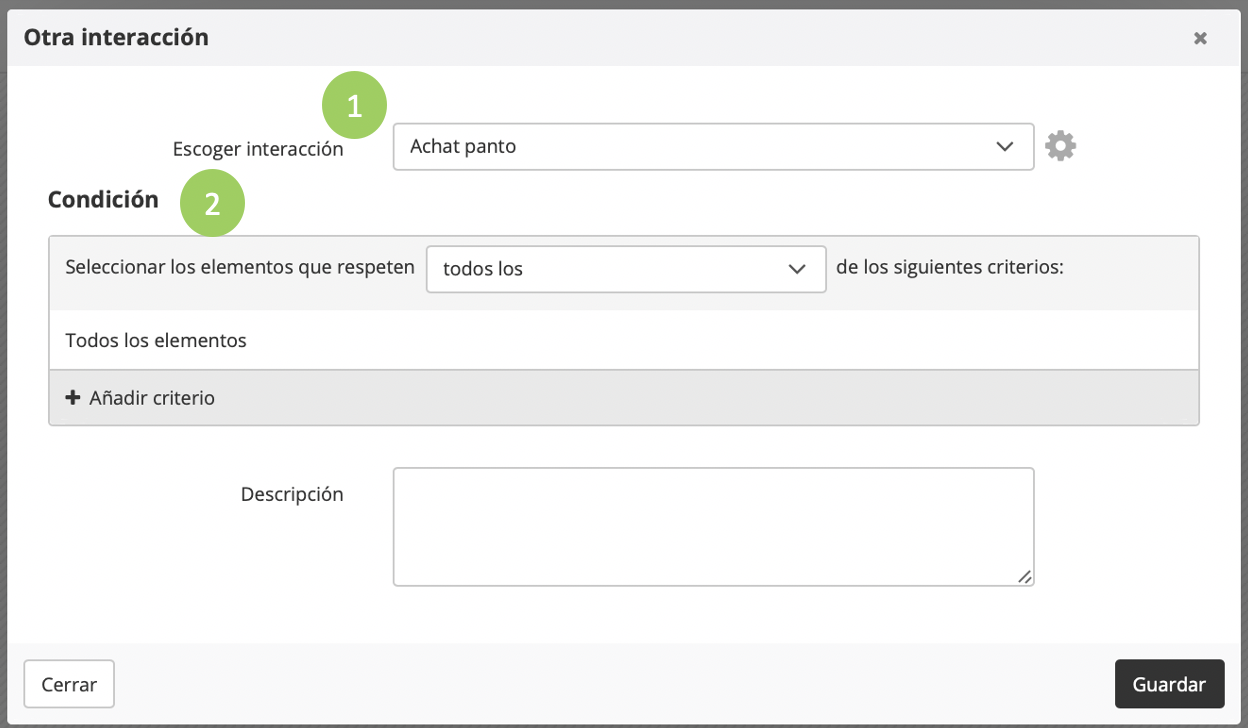
You will have to choose the table where the interactions which will trigger the scenario is coming from (1).
You can also define a condition that the interaction must respect in order to trigger the scenario (2).
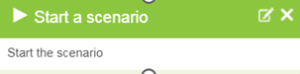
'Start' Block
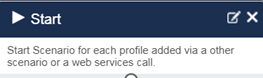
This start event is useful to trigger actions from ‘Web service’ calls, or to chain scenarios one after the other.
This feature enables you to trigger scenarios in chain. It gives the opportunity to split complex scenarios into several easier to follow scenarios.
The ‘Start’ block will therefore trigger the whole predefined set of actions:
Either when a ‘web service’ call is made in order to inject a profile in this scenario POST /entity/{e}/table/{t}/scenario/{s}/profile/{p}
Or when a profile reaches an ACTION ‘Start’ block in another scenario (see ACTION blocks)
'Goal' Block
The execution of a scenario is triggered when a profile has achieved an ACTITO goal.
'New Profile' Block
This block triggers a scenario when a new profile is created in the Profile table.
The scenario is executed as soon as the profile is created. You can specify the conditions that a profile must meet in order to trigger the scenario.
'E-mail Opened' Block
This block triggers a scenario when a profile opens a given e-mail for the first time. The scenario will only be executed at the first opening and not each time the profile opens the e-mail.
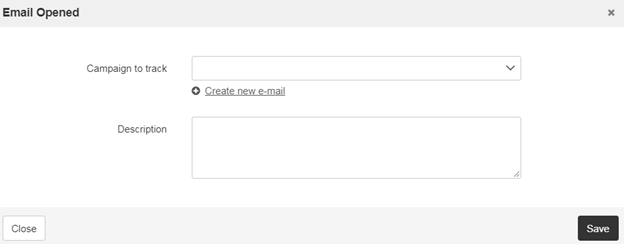
A drop down menu will let you select the campaign. It will also display 'in definition' campaigns, which are identified by the '  ' icon.
You can select one of these campaigns but you will not be able to activate the scenario, as it will remain in definition. The e-mail campaign must be ‘activated in automatic sending’ (and as such set as ‘ongoing’) for the scenario to activate.
If the e-mail campaign that you want to link to this scenario is not created yet, the block contains a link to allow you to create it directly.
'Participation' Block
The scenario is triggered when a profile takes part in a form. You can set up conditions in order to trigger the scenario for specific participations only.
You need to click on the ‘wheel'  to the right of the menu to access these criteria.
'Segmentation' Block
The scenario is triggered when a profile is added to a chosen segmentation.
In case of exclusive segmentation, you must choose the segmentation and the segment to which the profile was added (1 & 2).
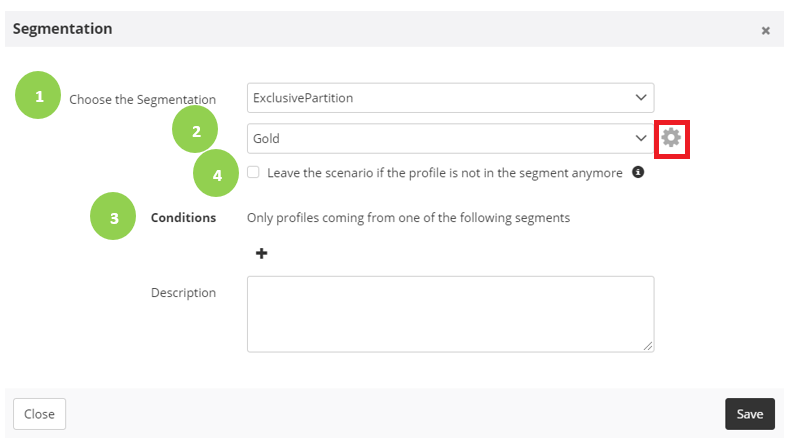
For exclusive segmentations, you can define a condition on the origin segment of the profile. Your communication will indeed differ if a Gold client moves to Silver or if a Bronze client moves to Silver. Click on the wheel icon next to the segment name to display the Conditions section (3).
Click on the + to define the segment(s) to which the profiles belonged originally. Only profiles coming from this segment will be included when the scenario is triggered.
The option ‘Leave the scenario if the profile is not in the segment anymore’ (4) will immediately stop the execution of a scenario for a profile if it leaves the segment. Its path through the scenario will stop at the time of its removal from the segment.
2. Filters
As suggested by their names, these blocks let you specify filters. These filters will redirect the path of a scenario depending on chosen criteria and may even stop it (the profile will not go further in the scenario if the criteria are not met).
Note
It is possible to combine several filters one after the other, or to use them after Action blocs or Waiting blocks.
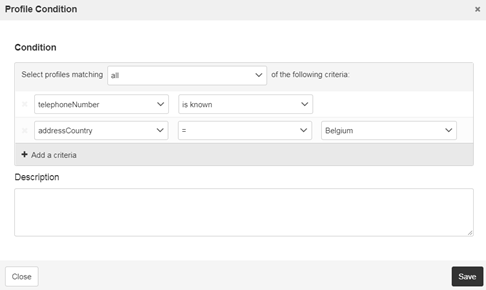
'Profile Condition' Block
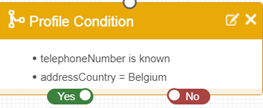
A ‘Profile Condition’ Block will enable to redirect profiles to a different action according to conditions on profile attributes, including technical attributes of interaction recency for the various communication channels, which build the profile engagement score.
'Condition on Targeting' Block
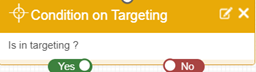
A ‘Condition on Targeting’ block will redirect profiles to separate actions depending on whether a profile is part of a saved targeting.
Note
The ‘savedtargeting’ is a targeting recorded in the ‘Manage targeting’ app (Catalog > Profiles > Manage targeting ). For additional information, see the ‘Targeting’ documentation).
The main advantage is that a saved targeting can be modified anytime. In turn, it will modify the behavior of an active scenario. Therefore, it is also a disadvantage, as if the same targeting is used for several purposes, you might end up unwittingly modifying another scenario.
'Split A/B' Block
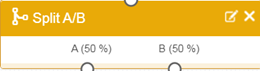
A ‘Split A/B’ block will redirect profiles to a separate actions depending on a random repartition of profiles based on a chosen distribution.
Note
An A/B split of 50/50 does not guarantee an exact repartition of 50% in each path of a scenario. The percentage is the chance to be randomly sorted into a path. The bigger the amount of profile, the more likely an exact split.
Tip
You might want to do an A/B/C testing, for instance in order to keep 20% of your profiles as control population and to divide the remaining 80% into two identical populations to test two kinds of messages. In such as case, you can combine two Split blocks: the first 'A/B Split' will have a 20/80 repartition, then you will put another 50/50 'A/B split' block after the 80% branch.
'Segmentation' Block
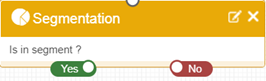
A ‘Segmentation’ block will redirect profiles to separate actions depending on whether the profile belongs to a segmentation.
3. 'Wait' Blocks
As suggested by their name, ‘Wait blocks’ will let you set up a waiting time between the initial trigger time of an action and the next step in another action.
'Wait' Block
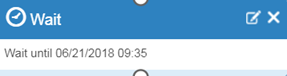
A simple ‘Wait’ block will stop the scenario flow during a determined period of time.
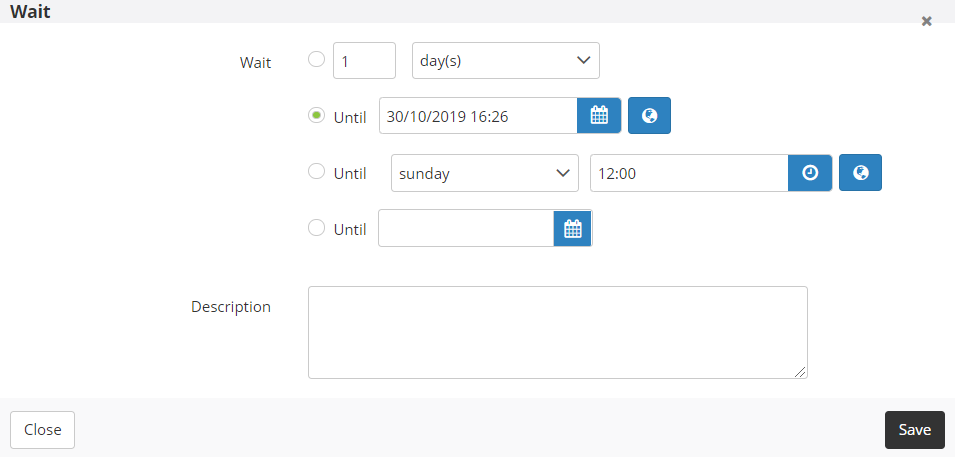
The waiting time can be defined by:
A period of time defined in weeks, days or full hours.
Waiting until a specified date and hour (e.g. until 6/21/2018 09:35)
Waiting until a specific day of the week and a given time
Waiting until specific day(s) of the month, with a possibility to choose the last day of the month (whatever the number of days in the month)
Info
When you define a wait period until a specific date and hour, the timezone used will be that of your browser.
If you want to define your scenario on another timezone, click on the "World" icon next to the time picker in order to open a modal window which will let you convert any timezone into your local time.
'E-mail clicked' Block
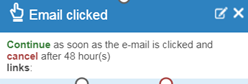
An ‘E-mail clicked’ wait block will stop the scenario flow until the user clicks in an e-mail. If no action is done after a given period of time, the profile will be redirected to the flow starting from the ‘red button’.
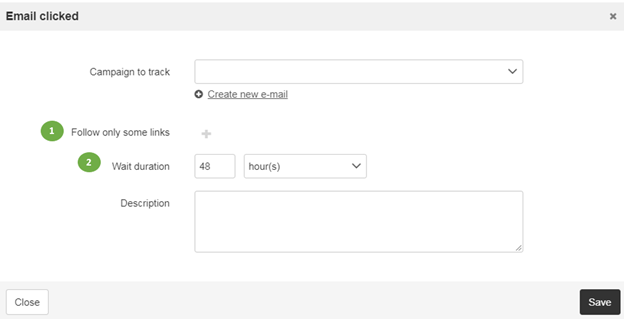
You can:
Only track specific links: ‘I want to trigger the action only if the person clicks on a particular link, and not on other links such as ‘Unsubscribe’ or ‘Web version’;
Define the wait duration in weeks, days or full hours.
Note
This block is used for an action that a profile will have to do in the future. This is not a prior condition to what a profile could have already done.
'E-mail Opened' Block
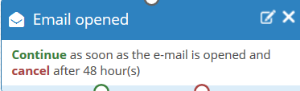
A waiting block ‘E-mail Opened’ will stop the flow of a scenario until the profile opens the e-mail. If no action is done after a given period of time, the profile will be redirected to the flow starting from the ‘red button’.
4. The actions
In the majority of all ‘Action’ blocks, you can see that there is a ‘red button’ on the right side or below the block. This will redirect the profile to another action if the action of the block goes 'in error'.
For example, if a profile has no mobile phone number, the SMS interaction will go 'in error'. In such a case, we might consider a 'Send to print' block starting from this 'red button'. If nothing has been defined, the profile will stop at this stage of the scenario.
You will see the whole list of 'Action' blocks, even if you do not have access to the corresponding application. In case of need, we invite you to contact the support team.
However, the 'Offer' block will only appear if you have an active offer.
'Add to Custom Audience' Block
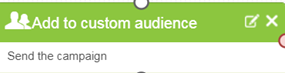
The ‘Add to custom audience’ block will let you create a new 'Audience' interaction for a profile and add a line in the downloadable csv file. This block will be used for ‘Push notifications’ that will be launched triggered by a third-party, based on information in the csv file.
'Start a scenario' Block
A ‘Start a scenario’ block will trigger the execution of another scenario. It will only be possible to trigger scenarios starting with a starting block ‘Start’ (see ‘Starting Blocks’).
'Send to Print' Block
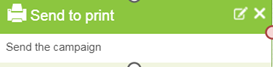
A ‘Send to Print’ block lets you create a new 'Letter campaign’ for the profile and add a line in the downloadable CSV file.
This block will be used in order to export the CSV file containing personalized information that will be used to send a letter campaign to the profiles.
'Send and E-mail' Block

A ‘Sent an e-mail’ block lets you send an e-mail to a profile. Only campaigns activated in automatic mode (and are therefore ‘ongoing’) can be used in this block. You will have to activate the campaign prior to preparing the scenario.
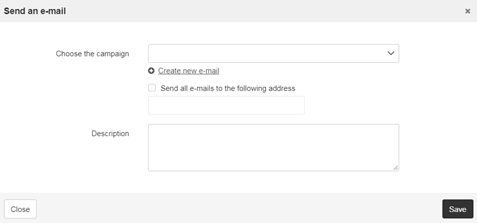
Forwarding address:
It is also possible to define a forwarding address, which means that the e-mail will be forwarded to the specified address instead of the e-mail address of the profile that triggered the action. If you need to forward the campaign to several people, you can combine several blocks at a time. You can also choose to send the campaign to a profile, then to add the same block to forward the same (or another) e-mail to a specific e-mail address (for example: support@yourcompany.com ).
'Send an SMS' Block
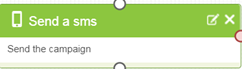
A ‘Send an SMS’ block lets you send an SMS to a profile. Only campaigns which are activated in automatic mode (and are therefore ‘ongoing’) could be referred in this block. You will have to activate the 'SMS' campaign prior to preparing the scenario.
'Transfer to Call Center' Block
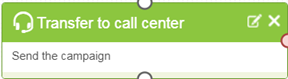
A ‘Transfer to Call Center’ Block lets you create a new ‘Call center’ interaction for a profile and to add a line in the downloadable CSV file.
This block will be used to export a CSV file containing personalized information for use as the base of a call center campaign.
5. 'Exit' Blocks
As suggested by their name, the ‘Exit blocks’ will exit a scenario without any following action.
'Exit'
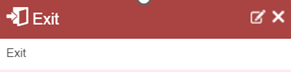
The ‘Exit’ block marks the end of the execution of a scenario.
By default, the name given to any exit is ‘Exit’, but you can rename it with the the reason why the profile has left the scenario. You will find this new name in the interactions linked to the profile. This will enable you to target people who have left the scenario via a specific block.
6. The options of a scenario
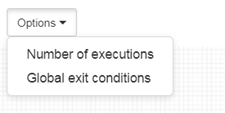
Number of executions
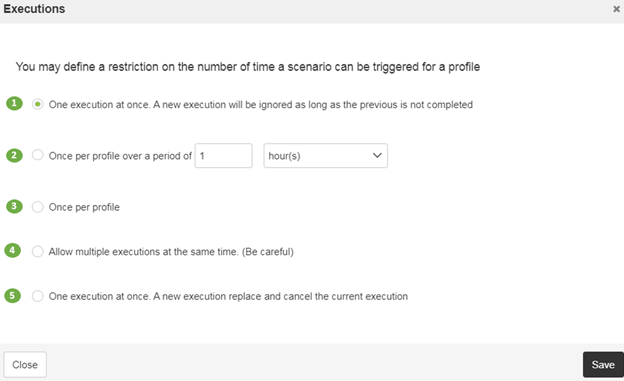
You can also choose the number of times a profile can go through your scenario.
The following options are available:
‘One execution at once. A new execution will be ignored as long as the previous is not completed’.
If a profile is in one step of the scenario and finds himself once again as part of the starting conditions of this very same scenario, this second execution will not be launched and will be ignored.
This is the default mode.
2. ' Once per profile over a period of X hours/days/weeks/months/years’
The profile can only enter the scenario once during the defined time frame.
3. ‘Once per profile’
The profile can only be part of the scenario once and only once.
This option can for example be used for a ‘Welcome’ scenario that offers a discount.
4.‘Allow multiple executions at the same time’
In contrast to the default mode, there will be no restriction for a profile to be part of the scenario several times all at once. This option would allow a profile that meets the starting conditions several times over a short period to find itself at various stages of the scenario.
5.‘One execution at once. A new execution replaces and will cancel the current execution.’
If a profile meets once again the starting conditions of a scenario while it was still going through it, the first execution will be stopped and replaced by the second one.
Global Exit Conditions
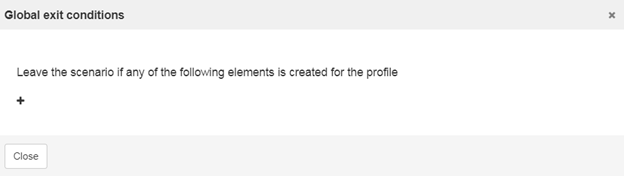
Defining a global exit condition will allow to stop the execution of a scenario if an interaction is created in a table linked to the profile table.
Example
In an ‘abandoned cart reminder’ scenario, you might want to add a global exit condition which will stop the scenario for the profile as soon as it makes a 'purchase'.
How to set it up?
An 'purchase' interaction table must exist in ACTITO
A global exit condition must be defined in the scenario and must take the name of the table which registers all purchases.
As soon as a purchase is recorded in this table for a profile relevant to the scenario, this scenario will stop for this particular profile.