Creating a Push Notification Campaign
In order to create a Push Notification campaign, go to the 'Manage push campaigns' app (Catalog > Other campaigns > Manage push campaigns) .
Push campaigns are an optional module that requires an additional set-up, both on Actito and on your website/your app.
If this channel is not active in your license but you are interested by this option, please contact your account manager.
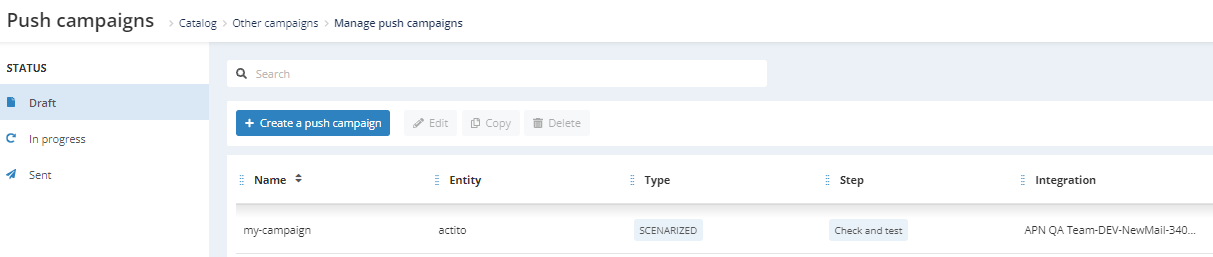
Click on 'Create a push campaign'.
Choose a campaign type
All your push campaigns are currently automatically scenarized campaigns, that will be triggered through the Scenario app.
Select the integration to which your push campaign will be associated
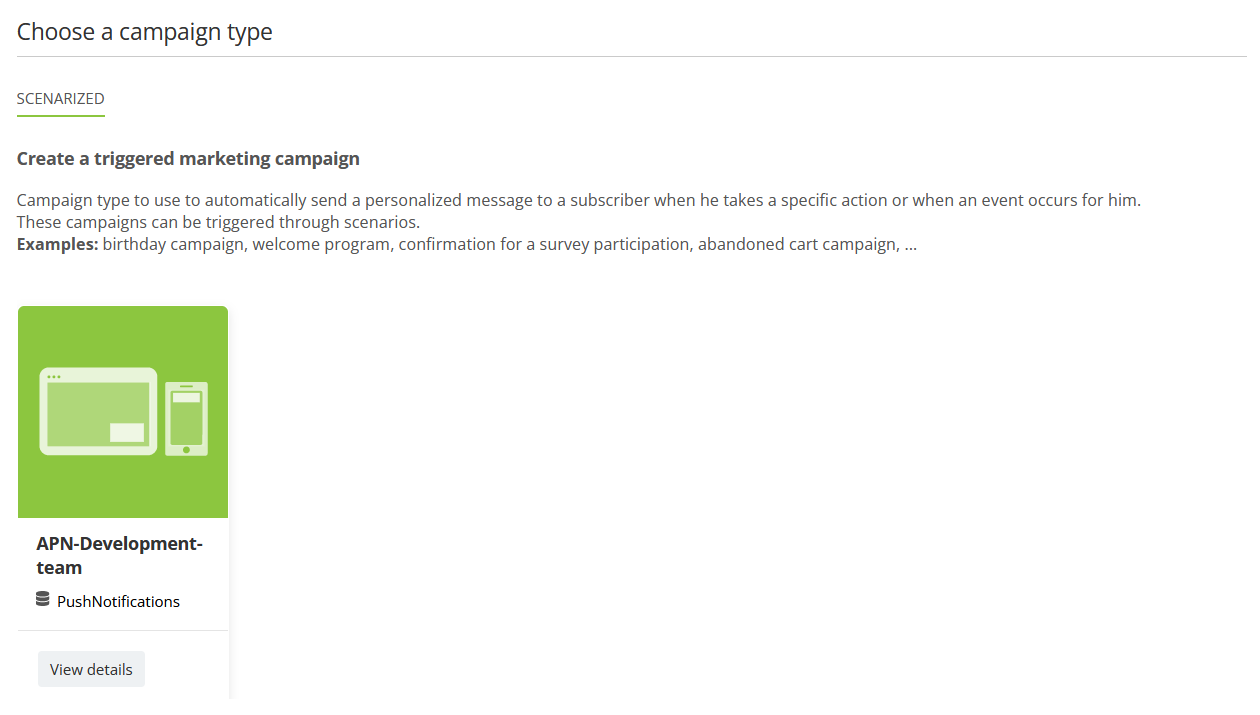
An integration is the link between one Actito profile database and one website and/or one mobile app.
If you have several brands, and therefore several websites or apps, it means you need to have several integrations configured in your license.
Fore more information about interaction setup, please see here.
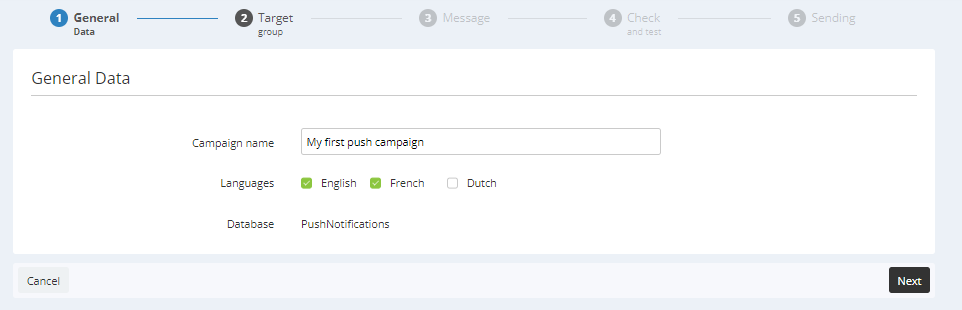
1. General Data
At the first step, give a name to your Push campaign, to retrieve it easily in your scenarios.
Like in every Actito channel, your push notification campaign can be created in different languages at once, and displayed in the mother language of the profile.
The database tied to your campaign is linked to the integration that you selected at the preliminary step. It is therefore not possible to modify it.
2. Target group
At the second step, you first need to choose the type of push notifications that you will send, depending on the devices on which you want to trigger the campaign.
It can be:
-
Web push notifications to trigger the campaign to profiles subscribed to website notifications on their browser.
-
App push notifications to trigger the campaign to users of your mobile application on their smartphone.
-
Both: If you have set up notifications on both media and want to target profiles regardless of their device, you can select the 2 options at once.
Push notifications are based on the device used, which means that the same profile could be subscribed to both app and web push notification on their browser and on their smartphone.
Push campaigns are tied to the subscriptions defined as Web subscription and App subscription in your Integration. They are automatically synchronized between your website/your app and Actito when a profile opts into receiving push notifications.
Therefore, the Type selected at step 2 will apply a targeting filter: only profiles with a Web or App subscription (depending on your choice) will be targeted.
If you select both types, profiles with the 2 types of subscription would receive a notification on both devices at the same time.
While not necessarily an issue, you can use the filters of the Actito scenario app to create different paths and prioritize device types depending on the subscriptions of the profiles.
Please note: even if you select both types, profiles subscribed to only one type (Web or App) will still be targeted on the relevant device. They do not need to be subscribed to both types to be targeted.
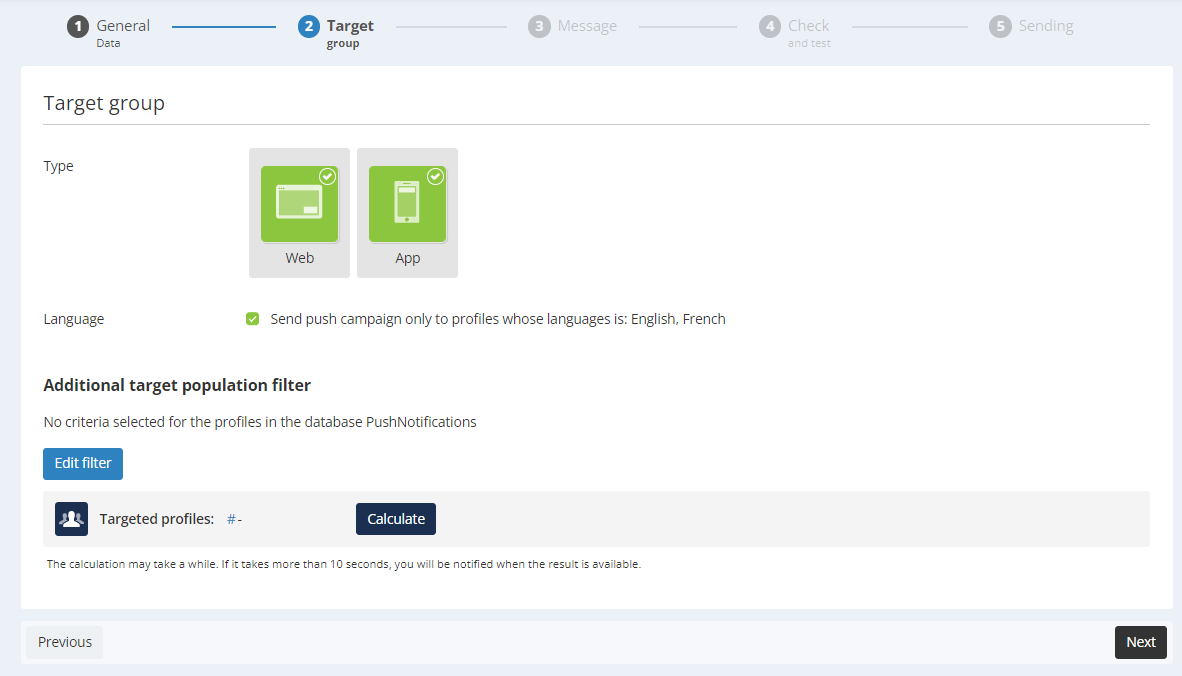
Next, you can choose to target only the profile whose mother language is one of the languages chosen at step 1, or to define a default language to send the notification to everyone.
Finally you can apply additional targeting filters, thanks to the Targeting module. This targeting will be applied in addition to the trigger used to start the scenario, so please note that defining additional filters can mean that profiles who entered the scenario will not received the notification. The "Calculate" button helps you check the number of profiles who fit the criteria at the moment.
3. Message
At the third step, you will be able to define the content of your push notification. Select the edition language in the dropdown and make sure to define the content in all the languages of your campaign.
The content will be the same for both Web and App notifications (if you selected both options at step 2). You can preview your content in real-time by switching the devices at the top right of the screen.
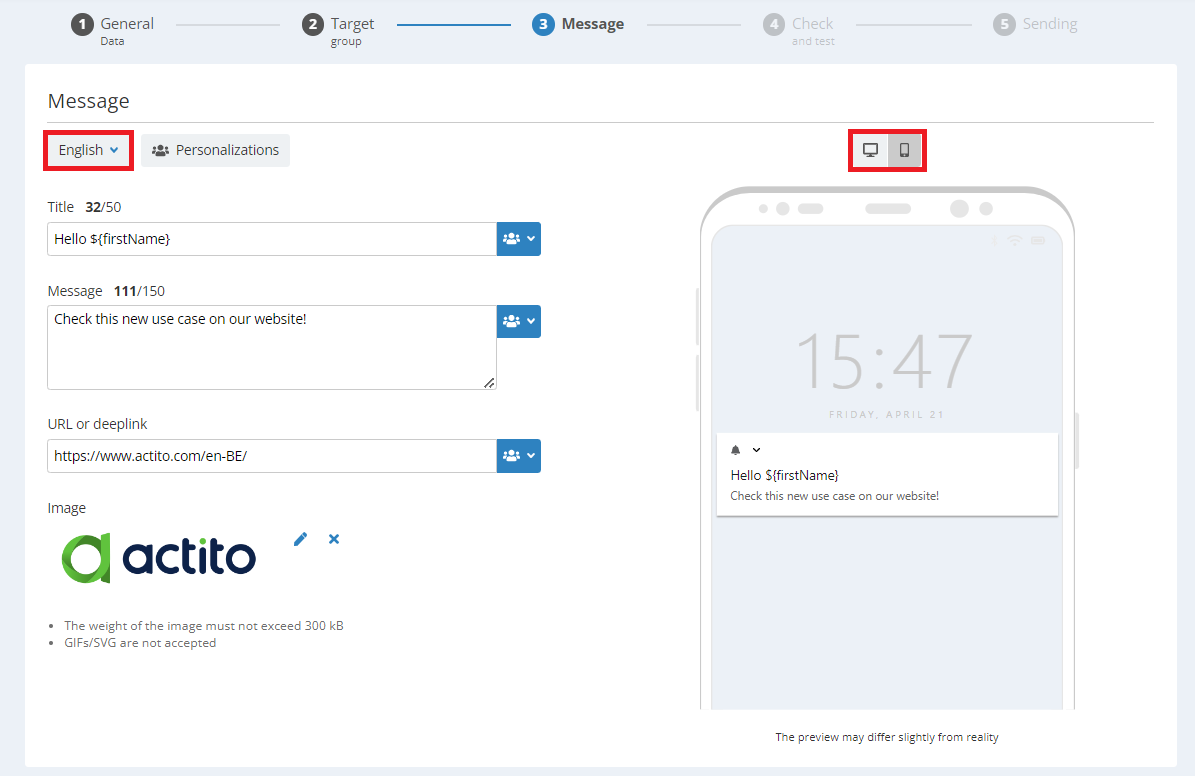
A push notification is made of:
-
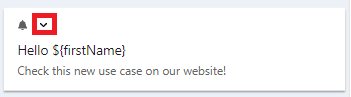
A title: this text will appear at the top of the notification, in bold or a slightly bigger font depending on the browser. It can contains max 50 characters and can contain personalizations, to directly address the profiles using data stored in your data model.
-
The message: this is the main text of the message, displayed in a slightly smaller font than the title. It can contains max 150 characters and can contain personalizations.
If you use personalizations in your content, make sure to account for the max length the value can take, as the character limit is applied after the personalizations are calculated.
-
A link: profiles who click on the push notification will be redirected to a page of your website or of your app. There are several ways to set-up links depending on the type of your campaign:
-
If you send a Web push campaign, the link will be a URL to your website, just like any link you would use in an e-mail.
-
If you send an App push campaign, you should use a deeplink: deeplinking is pointing to a specific page in your mobile app. There are 2 ways to do so:
-
Using a URI scheme with the protocol proper to the app like fb://, twitter://, ... (ex.: fb://profile/33138223345). This is the historical way of deeplinking and only works on apps: this should only be used if you are only sending App notifications and did not select both modes at step 2.
-
Using an URL scheme compatible with Universal Links (Apple) and App Links (Android): this is a way to write your app link so that it is routed just like any standard link using HTTP(S). As a result, the link will look just like a web link and will work both with your app and with your website. This option should be used if you chose both campaign types at step 2.
-
-
In doubt, ask the developer of your app how to write deeplinks toward the app, and plan your campaign types accordingly.
-
-
It is possible to use personalizations in the links, to use URLs or parameters stored in your data model in order to redirect your profiles toward unique pages within your website/app.
-
-
An image: this image will be displayed when the profiles receive a Web push notification, or when they expend an App notification.
-
The image can be uploaded from your computer or you can copy paste the URL of an externally hosted image (this URL can be stored behind a personalization).
-
The size of the image cannot exceed 300 kB and .gif/.svg are not compatible. Make sure to use another format, like .jpg or .png.
-
We advise to use an image respecting a 2:1 ratio, otherwise it may be distorted or cut off.
-
On mobile, the image will be displayed when profiles expend the push notification.
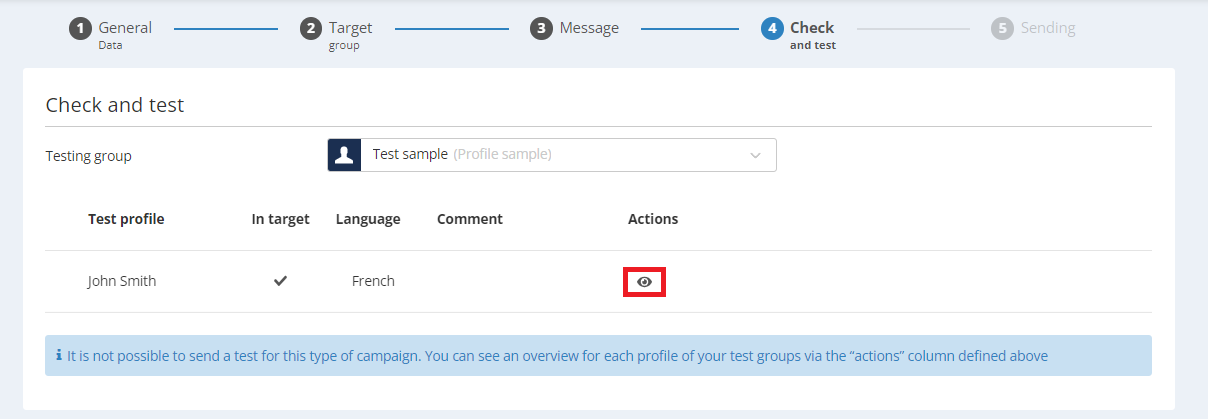
4. Check and test
Once your push notification is ready, you will be able to test it.
Unlike e-mail or SMS, you won't be able to receive the push notification directly. Indeed, by nature, a push notification is not tied to an e-mail address or a phone number, but to a device, to which the authorization to receive push notifications must be granted.
Therefore, your push notification can be checked by generating the preview for your test profiles: this is done by clicking on the eye and this will generated the push notification as it would appear to this profile, with the calculation of all personalizations.
5. Sending
Once your Push campaign has been tested, you will be able to review the details of the different steps, and, if everything is satisfactory, to activate it.
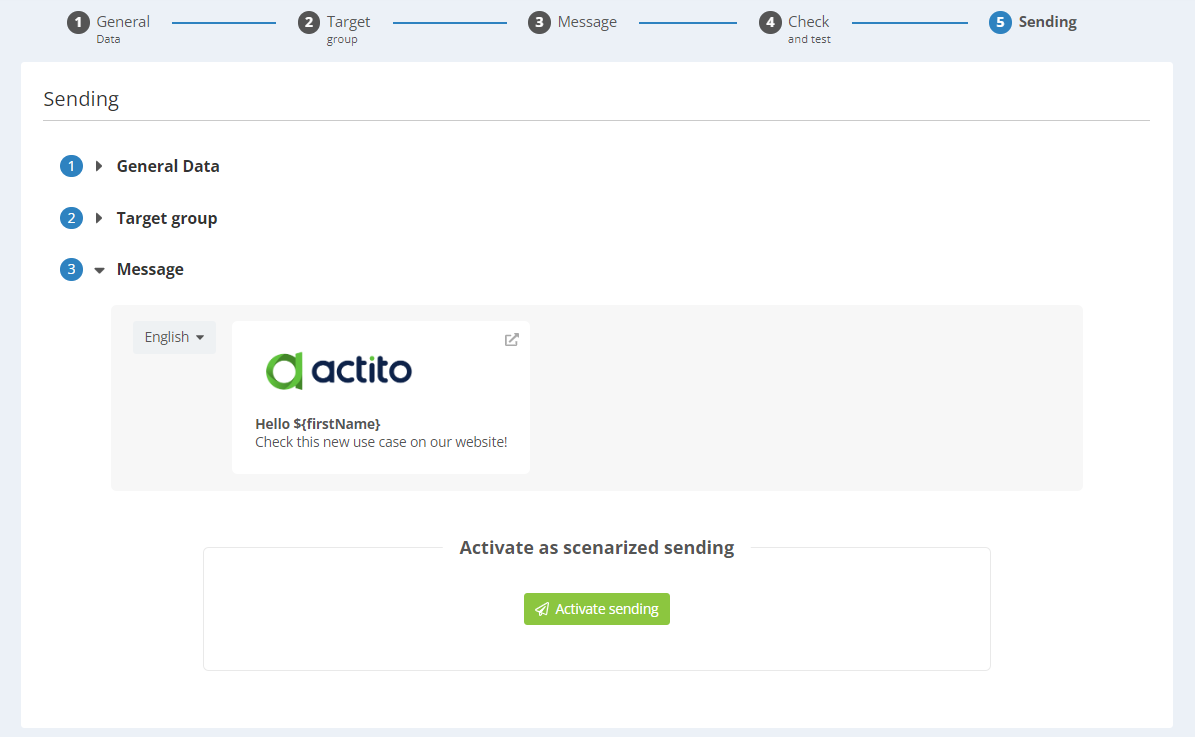
Click on "Activate sending" to validate the definition of your campaign and make it available in your scenarios, where you will be able to build journeys that trigger push notifications to your profiles.