Creating a Transactional E-mail
In this article, we will detail the specificities of creating a transactional e-mail.
Before sending your first transactional campaign, a
configuration must be made by the Actito teams.
Please get
in touch with Actito support or with your Account Manager, who
can explain you the modality of using the Transactional Module.
Creating a transactional campaign
Creating a transactional e-mail is done in the same way as the creation of mass e-mails and regular scenarized e-mails, via the "Manage e-mail campaigns" application (Catalog > E-mails > Manage e-mail campaigns) .
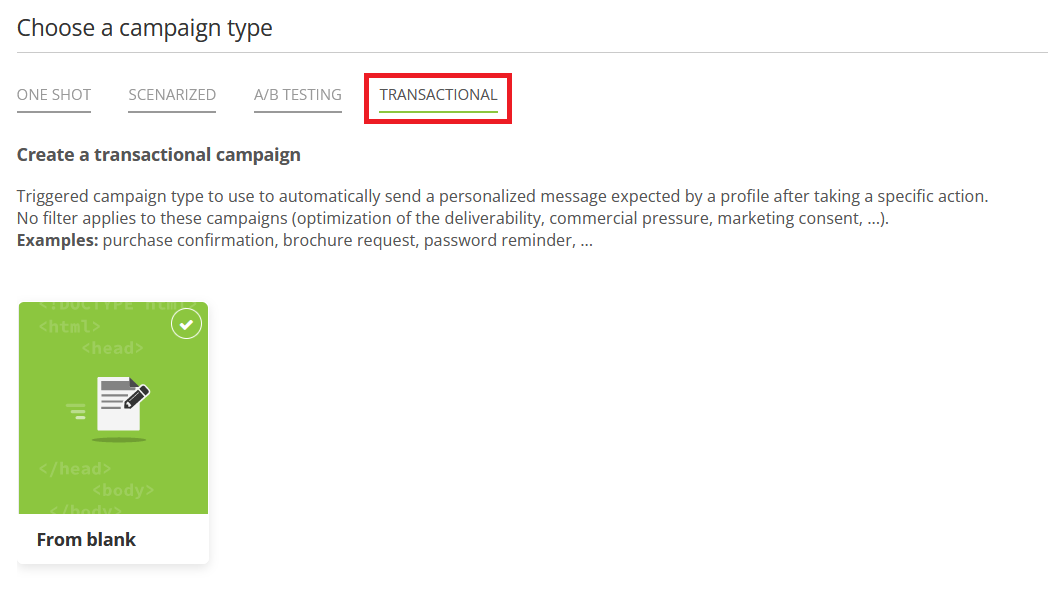
Click on the "+ Create a new campaign" button. Next, you will have to choose the type of campaign that you want to create.
Choose the fourth tab: Transactional campaign.
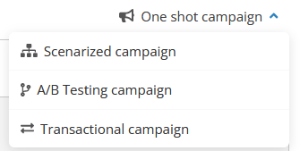
If you selected the wrong type, it is possible to switch your draft to transactional through the button in the top right of your screen.
This is important, as your transactional sending domain can only be used in transactional campaigns.
You will be able to fully design your e-mail with all the features available in Actito, giving full autonomy to your marketing team to define the look and feel of your transactional campaigns.
The creation a transactional campaign follows the same steps as a marketing campaign. If you are unfamiliar with them, we invite you to first have a look at the Creating a new E-mail campaign chapter.
The significant differences will be highlighted below.
Transactional campaigns need to be created through the Actito interface.
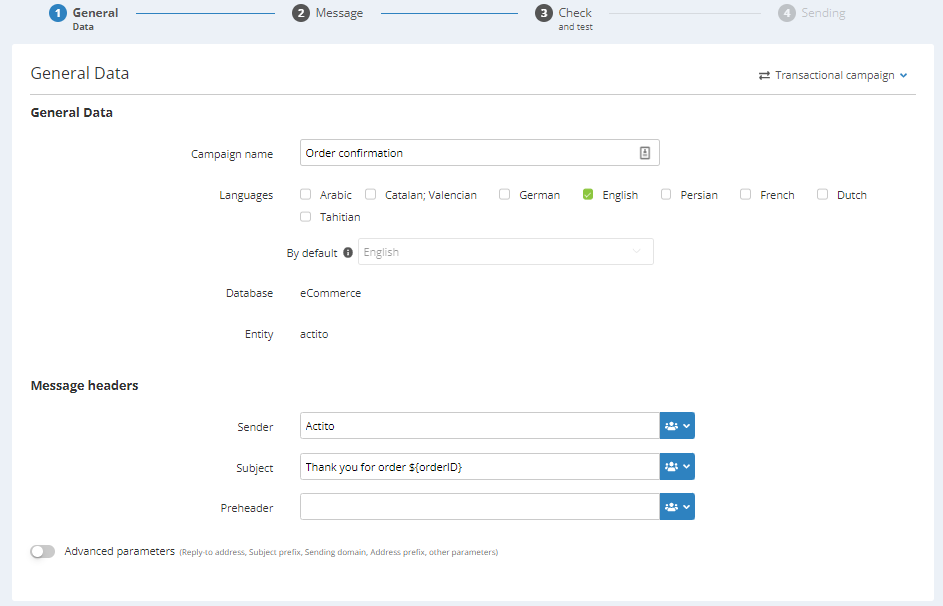
1. General Data
At step 1, you give a name to your campaign and define its general parameters.
Default language
All profiles for which the e-mail is triggered will receive the e-mail regardless of their language.
In case of a multilingual campaign, you need to select a default language, for the profiles who do not match any language of the campaign or who do not have any value for the 'motherLanguage' attribute.
Database
Choose the profile table used to send your transactional e-mails, be it an integrated data model or a separate dedicated database (See Getting Started with Transactional Campaigns).
Sending domain
To send a transactional campaign, it is necessary to use a sending domain specifically identified as transactional sending domain.
To activate a transactional sending domain, we invite you to contact your account manager.
Afterwards, all campaigns created in 'transactional' mode will be automatically configured on your transactional domain.
If you have several transactional domains in your license, you can choose the one used in your campaign in the advanced parameters of General Data (step 1), in the "Sender e-mail address" section.

Absence of targeting module
A transactional e-mail is not a marketing e-mail. It is the answer to a specific action of a profile. Consequently, it makes no sense to use the targeting module: every profile who performed the action will be targeted, without any filter. On the contrary, profiles who did not perform this action cannot be contacted.
There are therefore only four steps to the creation of a transactional campaign. You will directly go from defining the general data to creating the message.
2. Message
At step 2, you will define the content of your message.
As for any e-mail in Actito, you can create it through the template editor or by importing your own HTML.
This design will be completed by
personalization variables
defined through the format ${variable} and used to push the
actual values associated with the transaction for each
profile.
Personalizations provided by API
Sending transactional campaigns is possible via the "Scenarios" module of Actito or by an API call. Due to the real-time nature of transactional e-mails, the dedicated API call will be the preferred solution in most cases.
This call allows you to provide personalization values in the "parameters" array of its body, which means that the e-mail can contain both variables personalized by values stored in Actito but also external values pushed directly in the call.
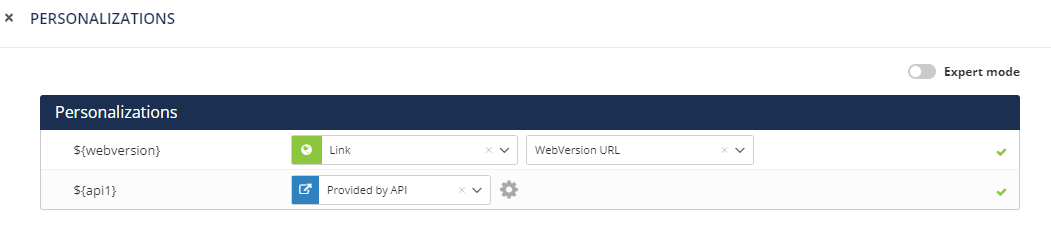
To be be able to push these values by API, the personalizations must be defined as 'Provided by API".
HTML content
Through the advanced parameters of a "provided by API" personalization, it can be defined as "HTML content".

This means that in the API call made to trigger the e-mail, you'll be able to directly integrate a snippet of HTML code, which will interpreted in the final rendering of the e-mail.
This is the only way to inject HTML in a campaign defined through the template editor!
Loop personalizations
In some transactional e-mails, such as order confirmations, you will need to display several items one after the other.
To do so, you can use loop personalizations, to display several sets of related data, either fetched from your Custom Tables, or pushed in the trigger API call.
Unsubscribe link
If you use a template to create the content of your message, please note that most templates of the Actito library include a default unsubscribe link.
The concepts of subscription and of unsubscribing are however not compatible with the concept of transactional campaign. The nature of this kind of campaign is indeed to answer a specific action performed by a profile, without applying any filter. As this kind of e-mail does not use any subscription, it is not possible to unsubscribe from it.
It is therefore necessary to remove any unsubscribe link from the e-mail body.
3. Check and test
At step 3, you have the possibility to test your e-mail.
Testing 'provided by API' personalizations
If you are using variables 'provided by API', because the e-mail will the triggered by an API call, Actito gives you the possibility to test your e-mail directly in the interface, without involving technical resources.
With such personalizations, an additional button will indeed be automatically displayed at the 'Check and test' step.
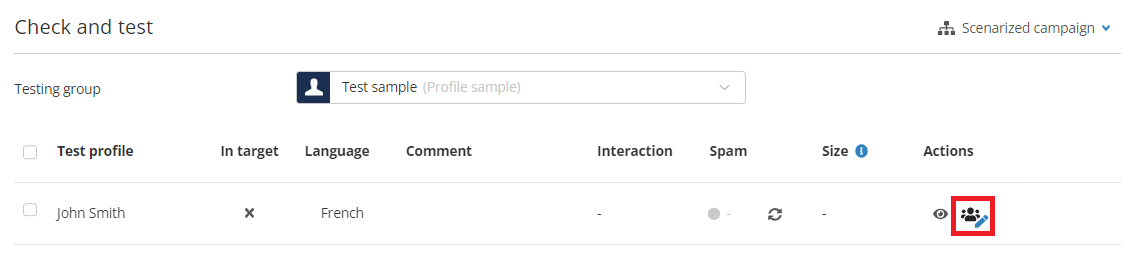
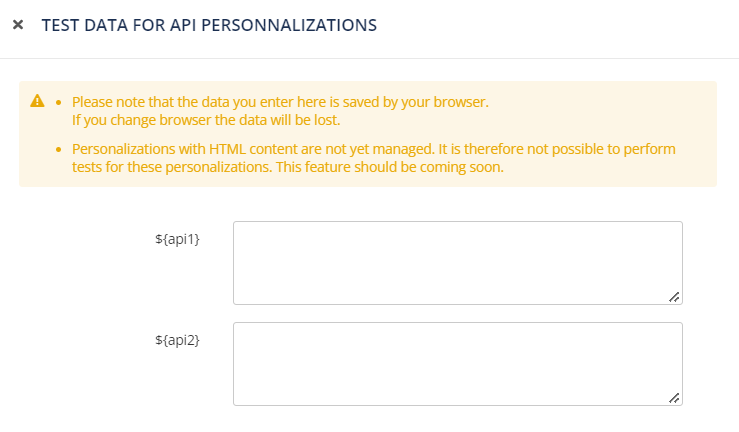
It lets you simulate test values for your personalizations, so that your test e-mails really use data to validate their final rendering.
These data are stored in the cache of your browser. They therefore do not appear in another user edits the campaign, or if you change session.
Testing by API
If you are working together with a developer, there is also an API call to carry out tests.
4. Sending
Activating the sending
Once your campaign is ready, a summary of its parameters will
be displayed.
Next, you will have to activate the
sending. Because of their nature, transactional e-mails are
not one-off e-mails but rather continuous sendings which will
be sent when the trigger action is performed by a profile.
To
do so, click on the green button "Activate
sending".
Tip
Clicking on the "Validate" button will only save the campaign but will not activate the sending. It should therefore only be used if you still want to modify the campaign later.
Triggering the campaign
Sending transactional campaigns is possible via the "Scenarios" module of Actito or by using an API call (with or without attachments).
See Triggering a Transactional Campaign for a detailed explanation.