Setting up Web Push Notifications on your Website
This section summarizes the instructions to follow to set-up Web push notifications and some useful advice.
If your website is built on the e-commerce platform Shopify, there is a specific process to follow.
Please disregard the following section and refer to the How to setup Web push notifications with Shopify section.
This part focuses only on the setup of push notifications for your website.
Take a look at the App section for mobile applications.
How to set up Push Notifications on your Website?
Once you're logged into the WonderPush platform:
1. Go to Settings and click on “Platforms”
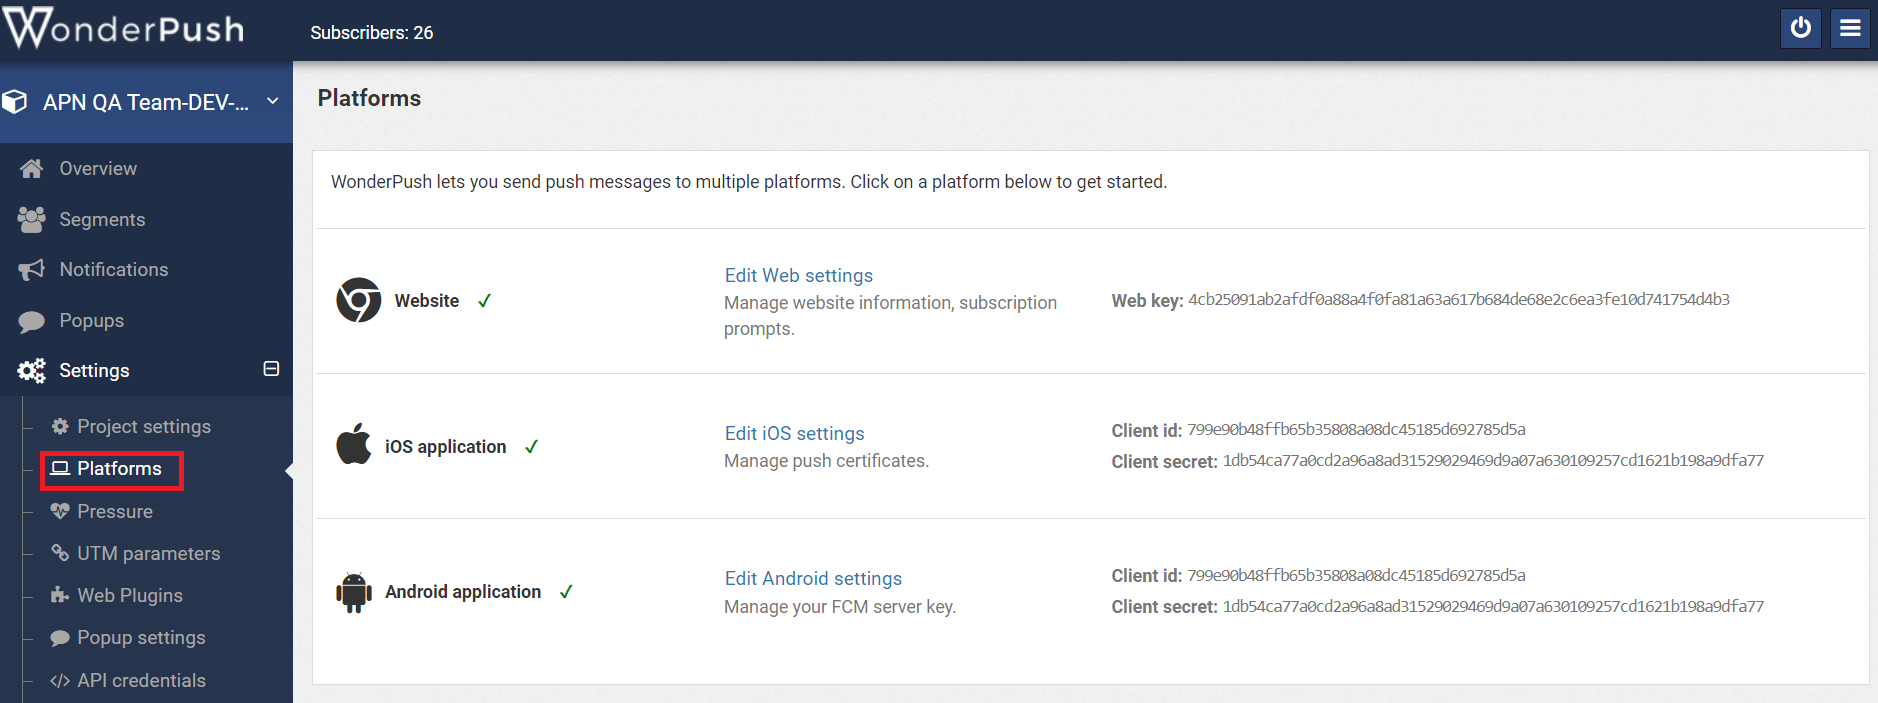
2. Click on “Setup Web push notifications”.
You now have several options depending on whether your website is built using a specific platform or not.
If you are unsure, select the “Typical install”, as it works for any website.

We will go through the Typical install together in the next section.
If your website is built from a specific platform, please follow the relevant WonderPush documentation found below. However, please have a look at the typical install section, because an additional operation is required at Step 3 for the integration.
Website frameworks
CMS platform
|
Platform |
Link to the WonderPush documentation |
|
Blogger |
https://docs.wonderpush.com/docs/web-push-notifications-blogger |
|
Drupal |
https://docs.wonderpush.com/docs/drupal-web-push-notifications |
|
Joomla |
https://docs.wonderpush.com/docs/joomla-web-push-notifications |
|
Magento |
https://docs.wonderpush.com/docs/magento-web-push-notifications |
|
Squarespace |
https://docs.wonderpush.com/docs/web-push-notifications-squarespace |
|
Wix |
|
|
Weebly |
https://docs.wonderpush.com/docs/web-push-notifications-weebly |
|
Woocommerce |
https://docs.wonderpush.com/docs/web-push-notifications-woocommerce |
|
Wordpress |
https://docs.wonderpush.com/docs/web-push-notifications-wordpress |
Tag manager
|
Platform |
Link to the WonderPush documentation |
|
Google tag manager |
https://docs.wonderpush.com/docs/web-push-notifications-google-tag-manager |
Framework
|
Platform |
Link to the WonderPush documentation |
|
React |
https://docs.wonderpush.com/docs/web-push-notifications-react |
|
AMP |
Your Project has already been configured by the Actito team.
When you follow the WonderPush documentation, you can skip the “Before we start” section.
Typical install run-through
Going through the typical install is useful because regardless of the platform, roughly the same steps will be followed.
We will focus on the tips relevant to the Actito integration. For the full information, we invite you to follow the WonderPush documentation.
Website information
This part is required to define the website to which your push notifications will redirect.
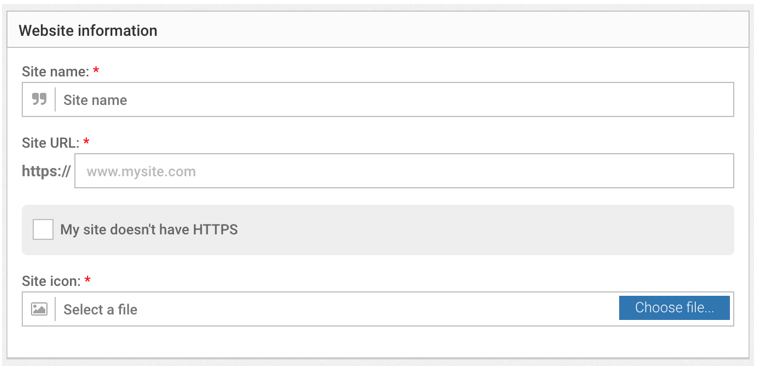
For performance reasons, it is highly recommended to setup HTTPS on your website rather than use a WonderPush sub-domain.
This step is also used to specify the name of your website and its icon, as it will be displayed in the notification.
The icon can be uploaded from your computer or refer to the URL of a hosted image.
For compatibility reasons, it should not be a GIF.
Subscriptions prompts
Subscriptions prompts are interfaces that let your customers subscribe to your push notifications. You can use base templates or customize them.
You can follow WonderPush’s dedicated documentation for more details regarding subscription prompts.
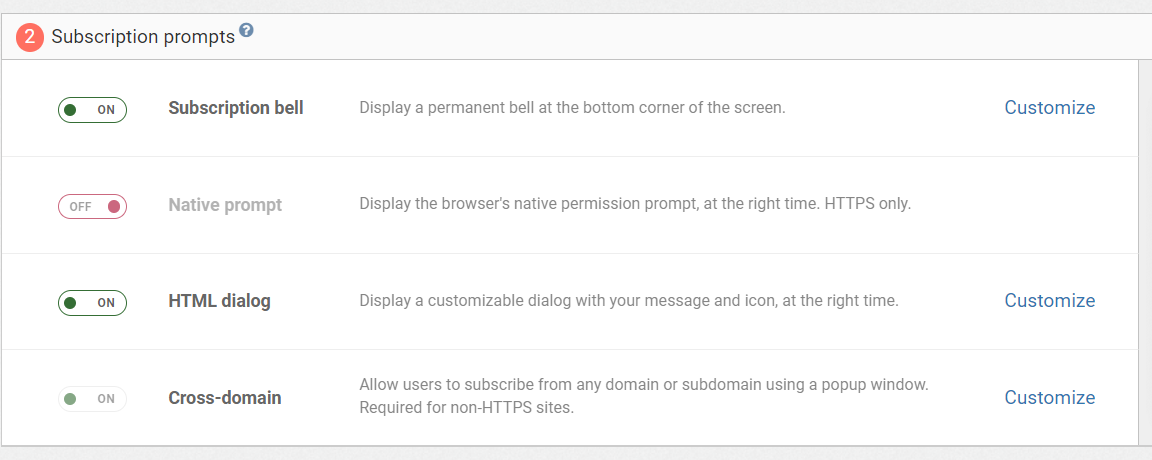
Important: activate the cross-domain parameter to get subscriptions from the sub-domain attached to your main domain name.
Cross-domain offers you the possibility to get more optins. It’s possible to de-activate this parameter.
Example: Your website is structured into 2 parts:
-
https://www.actito.com for the blog part – considered like the main domain
-
https://shop.actito.com for the e-shop part
If the parameter cross-domain is active, people can subscribe from the blog part and the e-shop part.
If the parameter cross-domain is inactive, people can subscribe only for the main domain defined (https://www.actito.com).
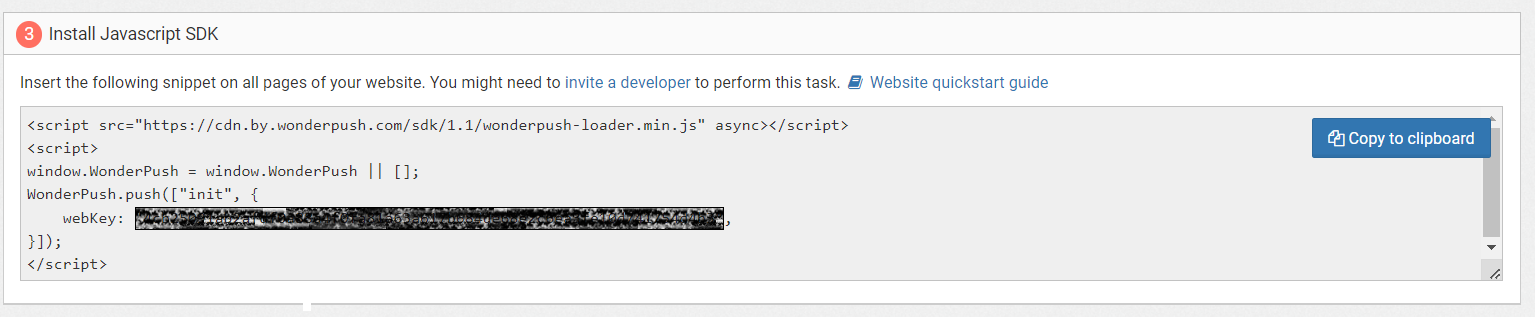
Copy code
This is where you will retrieve the code that you will need to install on your website to enable push notifications.
But first, there is an additional mandatory step to assign an end-customer “user ID” to the subscribed device. It should be followed for all installs regardless of the platform on which your website is built.
This point is mandatory to trigger push notification messages through the Actito journey builder towards profiles knows by Actito.
Regardless of your platform install, you also need to deploy a function to fill the userId when the end-customer logs on the website.
The following snippet must be added to the code retrieved at step 3:
window.WonderPush = window.WonderPush || [];
WonderPush.push(['setUserId', "THIS_USER_ID"]);
With "THIS_USER_ID" being replaced by your own userId.
As a reminder, it's mandatory that the userId is a key on Actito side (Attribute defined as unique).
NB: When an anonymous user become known, a new device is created by WonderPush. Data collected by the old device isn’t transferred to the new installation. The old device is still opted-in.
See the WonderPush documentation for additional information about the userId function: https://docs.wonderpush.com/docs/user-ids
Once the added function is inserted into your code, it should look like the example below.
You, or your developers, should paste this code on every page of your website.
Please, don’t copy this code example. The script must be copied through the WonderPush user interface
<script src="https://cdn.by.wonderpush.com/sdk/1.1/wonderpush-loader.min.js" async></script>
<script>
window.WonderPush = window.WonderPush || [];
WonderPush.push(['setUserId',YYYYY); // The value YYYYY must be replaced by the key known by
Actito
WonderPush.push(["init", {
webKey: "XXXXXX", // The value XXXXXX must be replace by your webkey
available on the js script provided by WonderPush
}]);</script>
SDK files
This is the final part needing developers intervention. It requires to download the Software Developer Kit of WonderPush from wonderpush-sdk-files.zip.
After unzipping the archive, the SDK should be uploaded on the top-level root of your website directory.
While it is possible to install the SDK on a subdirectory by specifying it in the WonderPush parameters, it is highly advised to put it on the root for performance reasons.
After that, both files (wonderpush.min.html and wonderpush-worker-loader.min.js) should be available publicly on your website domain.
WonderPush will generate the URL on which they should be available, based on the domain you specified and the file names.
Click on the “Check” button to try to access the pages:
-
If you can access them, it means the files have been installed successfully on your website directory.
-
If you get a 404 error, check if you correctly installed them on the root of your website directory.

How to check if the setup works?
-
Go to your website and subscribe to push notifications.
-
Go to the “Segments” section on WonderPush and click on the segment named “Everybody”.
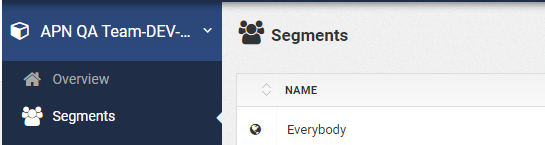
-
Check if you see your subscription and if the user Id is set.

Troubleshooting web push notifications
If you experience some issues, please refer to the WonderPush documentation: https://docs.wonderpush.com/docs/technical-issues
If you have doubts about the performance of your website with the SDK, please check this additional note: https://docs.wonderpush.com/docs/web-sdk-performance
Checklist
|
Items |
Status |
|
My website has an HTTPS certificate |
|
|
I put the WonderPush javascript SDK on every page |
|
|
I added the part to set one userId on the javascript SDK when a visitor logs in |
|
|
I put the files wonderpush.min.html and wonderpush-worker-loader.min.js on top-level root of your website directory to make it publicly accessible |
|
|
I can see the prompt to subscribe to push notification and receive my first push (default welcome notification) |
|
How to setup Web push notifications with Shopify?
The installation on a website build with Shopify is specific, because the installation must be started on Shopify rather than WonderPush.
Process
1. First, the add-on must be deployed from the Shopify app-store and not from Wonderpush. You can find the app here: https://apps.shopify.com/wonderpush-abandoned-cart-push
Please refer to the documentation to follow the installation: https://docs.wonderpush.com/docs/web-push-notifications-shopify
2. When the add-on is deployed, please communicate the internal domain of Shopify to Actito. Additional settings are required on our side.
This is the domain you had to enter at step 1 of the installation: xxxxx.myshopify.com
3. This point is mandatory to trigger push notification message through the Actito scenario builder towards profiles knows by Actito.
You also need to deploy a function to fill the userId when the end-customer logs on the website.
The following code snippet must be added on the Javascript SDK.
<script>
window.WonderPush = window.WonderPush || [];
WonderPush.push(['setUserId',"YYYYY"); // The value YYYYY must be replaced by the key known by
Actito
</script>
With "YYYYY" being replaced by your own userId.
For more information, see https://docs.wonderpush.com/docs/user-ids
As a reminder, it's mandatory that the userId is a key on Actito side (Attribute defined as unique).