Creating a Testing Team
Understanding testing teams
If you have clear processes regarding who must validate an e-mail before sending it, testing teams should be your favored solution.
It allows you to predefine the list of colleagues, superiors, or clients who will receive the test e-mails when you draft a campaign.
These people do not have to be existing profiles in your database: instead of having a list of real recipients for each test, it is simply predefined.
As all test e-mails must be built after the attributes of real profiles, each tester (as in recipient of the test) will be associated with a profile of the database, whose attributes will be used to generate the test e-mail (personalizations & conditions).
Tip
If you only want to draft a list of profiles to use to model test e-mails and choose the test recipients afterward, you should use the "profile sample" option.
During the creation process (steps 2 and 3), you will be able to switch to the 'Profile sample' mode through a menu in the top right corner of the screen
Creating a testing team
In order to create a Testing team, go to the 'Testing groups' app (Catalogue > Profiles > Testing groups).
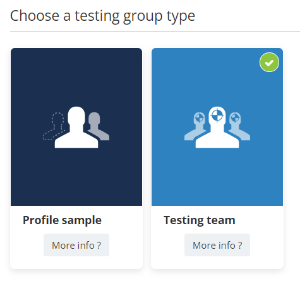
Click on 'Create a testing group', select the 'Testing team' option then click on 'Next'.
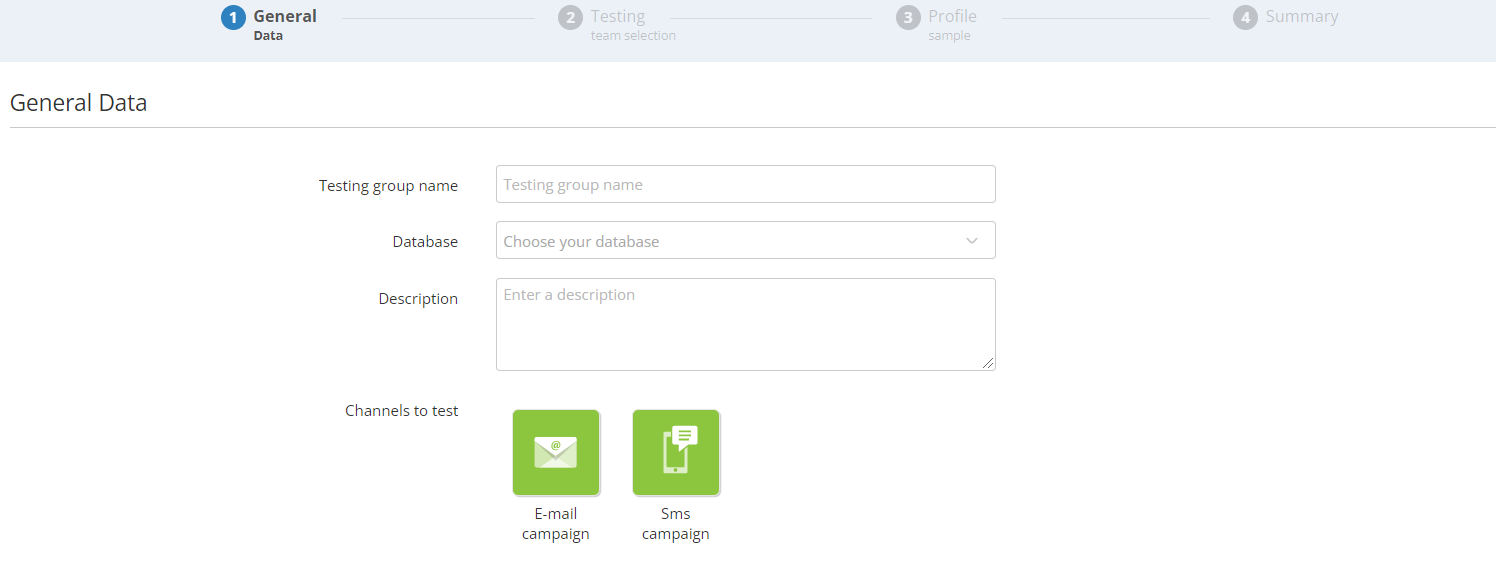
Step 1: General data
At this step, you will name your testing group and choose the database to which it is related. As a testing group is made of real profiles, it is always linked to one single database.
You can also provide a description of your testing group: this is useful as you can have several testing groups, such as one dedicated to internal content, or a specific project. The description helps remember the purpose of the group.
For a 'testing team', you will also need to choose the channels to test: e-mail and/or SMS campaigns. This will impact the information that you will need to provide for all your testers: e-mail address and/or cellphone number.
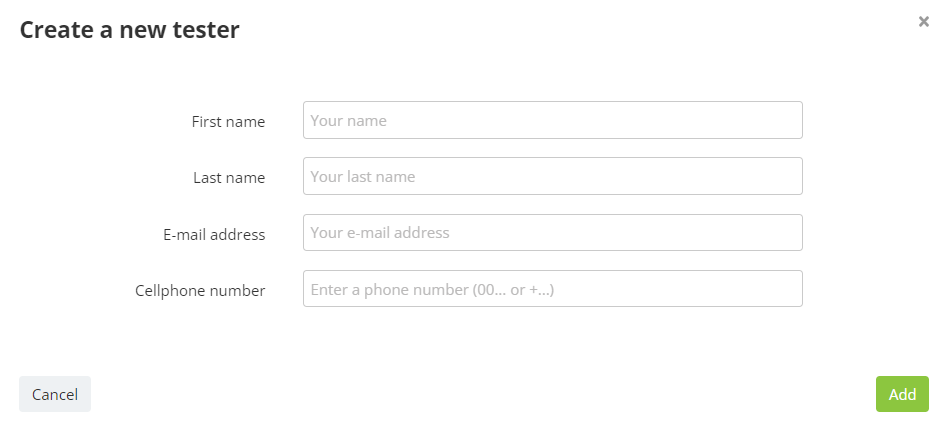
Step 2: Testing team selection
At this stage, you can choose the people who will really receive your tests. These are physical users (your colleagues, for instance), who do not have to be existing profiles in the database.
Click on 'Create a tester' to input the data of one of your testers.
You have to provide their first and last name, to identify them properly, as well as their e-mail address and cellphone number to send the tests (depending on the channels chosen at step 1).
It must be a valid e-mail address or cellphone number (with international prefix).
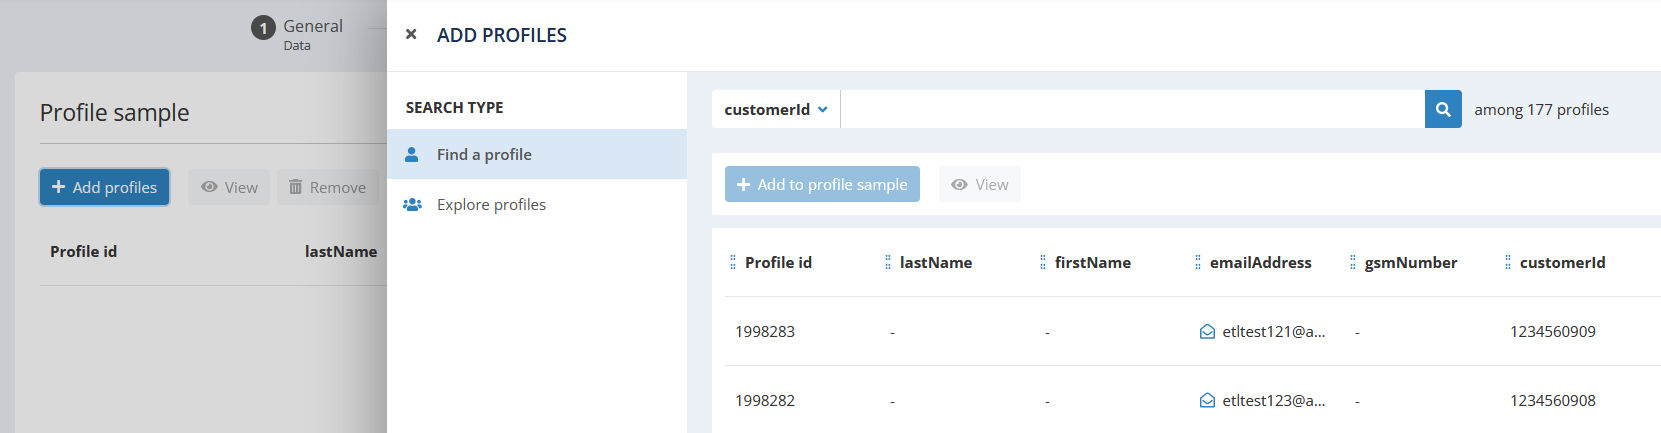
Step 3: Profile sample
At this stage, you will choose the profiles upon which the tests will be generated.
Indeed, even if you have selected a list of real testers at the previous step, the test messages must still be personalized and conditioned based on the attributes of a profile in the database.
Therefore, a sample of profiles must be selected and assigned to your testers.
By clicking on 'Add profiles', you have 2 options to look for specific profiles:
-
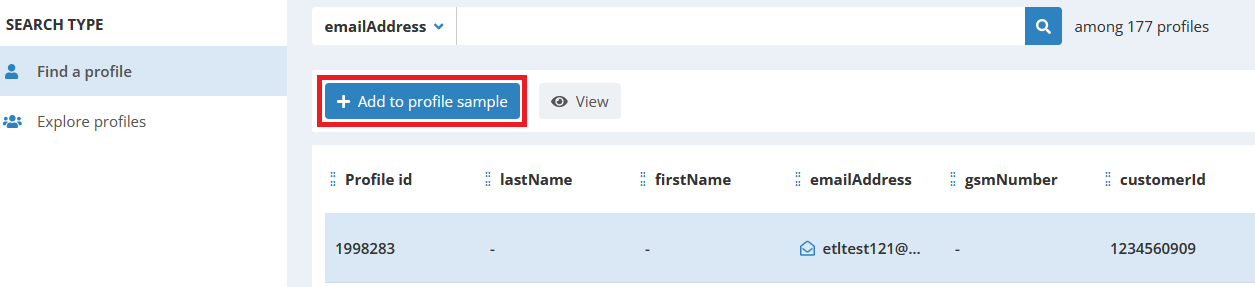
either with a quick filter by first name, name, e-mail address, or any key attribute of your DB ('Find a profile'). This allows you to look for a profile in particular within your database.
-
either with an advanced search through the targeting app ('Explore profiles'): this allows you to look for profiles that fit specific criteria. For example, 'has a subscription' or 'belongs to a specific segment'. This is also useful to find several profiles at once.
Your testing group should be a representative sample of your database. E.g.:
If your campaigns are multilingual, your testing group
should include a profile from each language option.
If
you personalize your campaigns according to gender, your
testing group should include a sample of men and women.
Each personalization or conditioning parameter of your campaign should also be represented.
After finding a suitable test profile, click on 'Add to profile sample'.
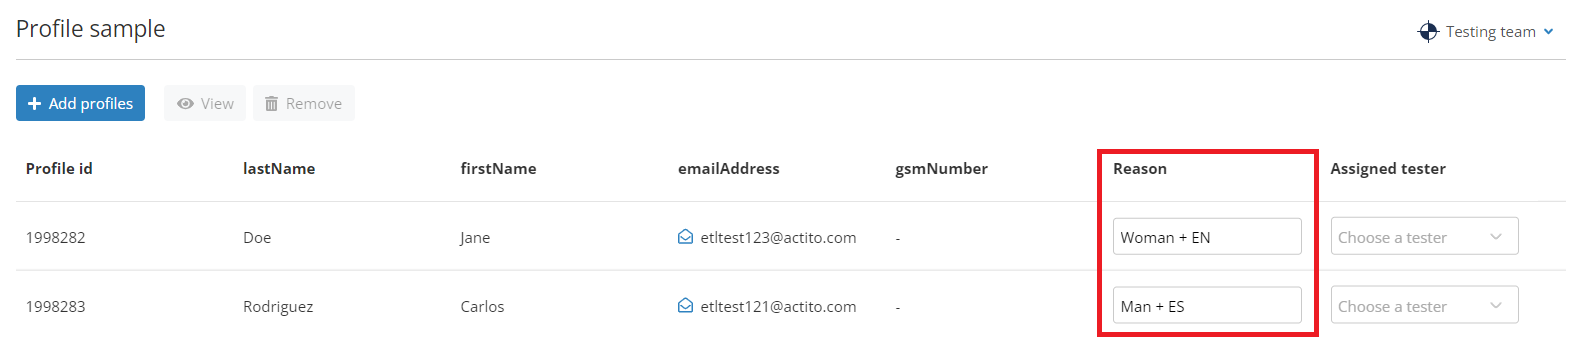
In the list of profiles added to your sample, you can specify the reason why you want to use it to test e-mail (for example: 'spanish speaking + man'). This useful information will be displayed when you validate your campaign and when assigning the testers.
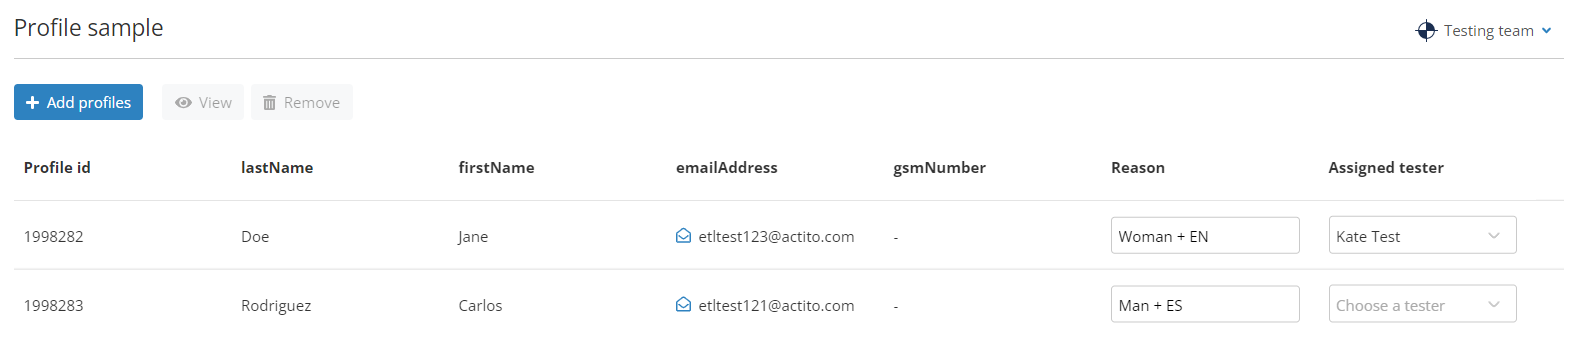
Finally, the most important point of the testing team is to assign a tester to your sampled profile.
This ensures that the test will be generated according to the profile characteristics, and sent to the tester (whose contact information was provided at step 2). In the example below, the test e-mail will be based on 'Jane Doe' (a profile in my database) and sent to real address of 'Kate Test' (a colleague of mine). I assigned this profile to this tester, because I feel she is best to validate this version of the e-mail.
Good to know
Several profiles can be assigned to the same tester, which means the same person will be able to validate different versions of the e-mail.
The same profile can only be assigned to one tester. If several persons need to validate the same version of the e-mail, similar profiles should be added to the sample.
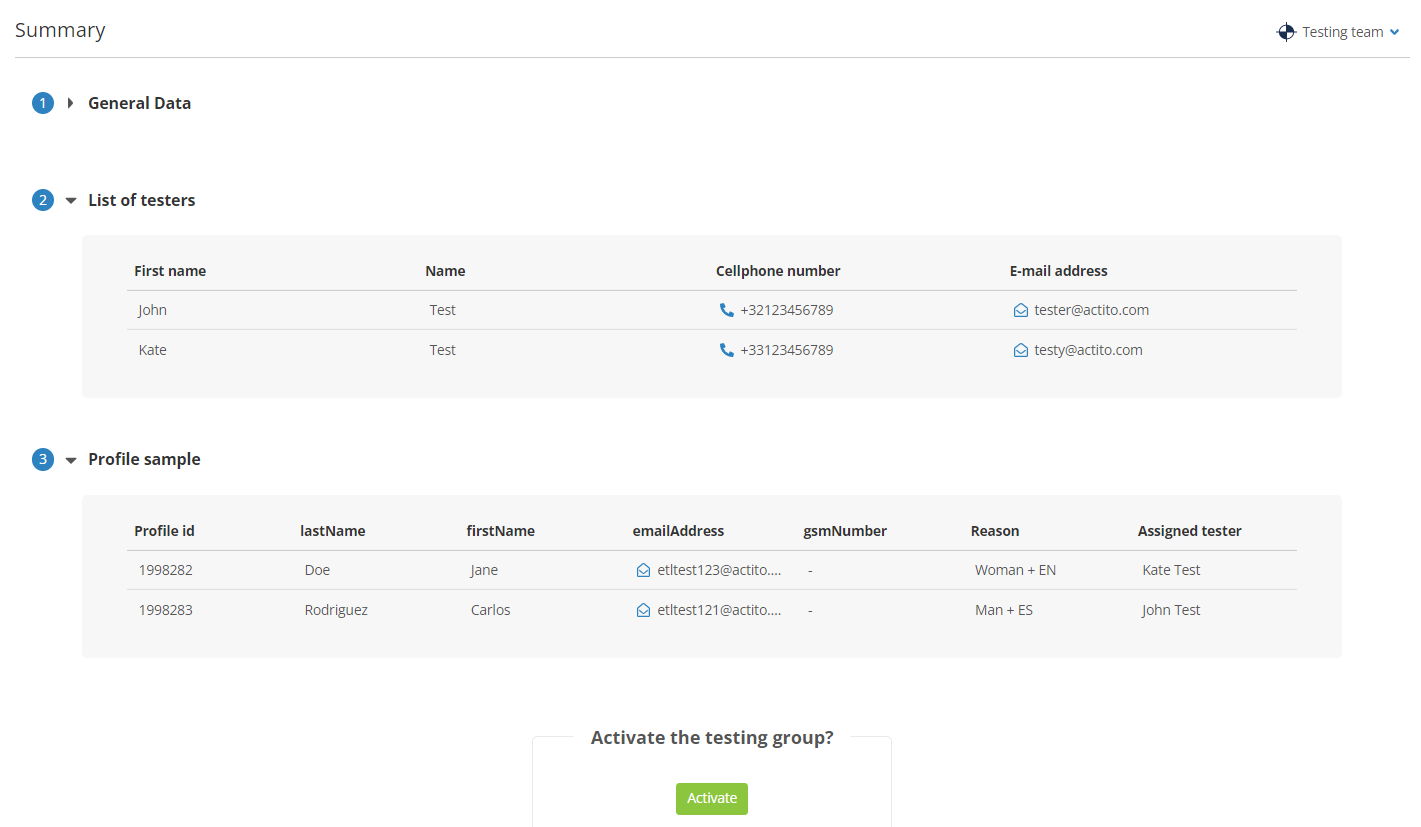
Step 4: Summary
The last step summarizes the characteristics of your testing group, your team of testers, and the list profiles to which they are assigned.
Click on 'Activate' to gain access to your testing team in your campaigns.
Using a testing team
At the 'Check and test' step, choose your testing group in the dropdown menu. Both profile samples and testing teams are available here.
When you select a testing team, your test profiles will be used to generate the e-mail by calculating the personalizations and conditions according to their attributes, then the tests will be sent to the tester assigned to these test profiles.
Select which 'profile-tester' pairs you want to use to generate your tests. The 'Comment' column helps you remember the attributes of these profiles, and the 'Tester' column specifies which of your collaborators is tied to this profile.
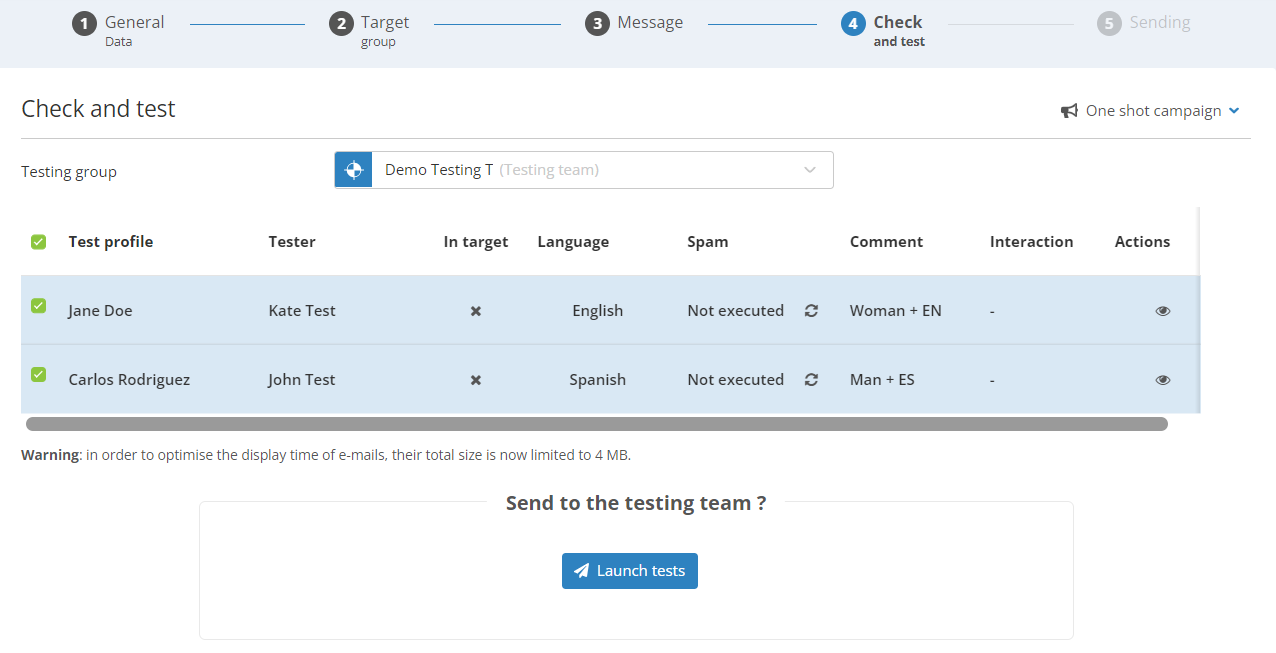
When you click on 'Launch tests', an e-mail will be generated based on each test profile.
It will not be sent to the profile's address, but rather directly to the testers of your testing team.
Overriding the testing team
What if you need to send tests to someone who does not belong to your testing team?
No need to edit the testing team for a one-shot, just scroll to the 'Quick tests' option, when you can enter external e-mail addresses.
If you do so, the e-mails will still be based on the test profiles you selected, but rather than being sent to their assigned tester, the tests will be sent to the external addresses you provided.

Tip
Using the 'Quick Tests' mode is effectively the same as using a 'Profile sample'.